共计 4075 个字符,预计需要花费 11 分钟才能阅读完成。
我们可以通过集中式日志服务器将多台机器的日志收集在一个日志服务器,然后通过脚本或者其他方式去分析,但是真正做过运维的小伙伴明白,日子收集在硬盘上,硬盘的空间有限且大文件分析起来 IO 压力超级大,分析日志需要高超的技术,一般运维人员分析起来会很困难,更无法实时的去查看某个机器的日志。这样的话我们的日志收集就变成了真正意义上的收集了,收集起来如何利用就变成了一个难题,总结一下主要的问题就是以下几点:
- 日志文件巨大,硬盘 IO 压力大
- 无法实时分析
- 分析需要消耗很多计算机资源且困难
如何解决这个问题呢?
-
IO 压力: 我们可以将日志收集在数据库中,海量的日志通过分布式存储的底层支撑加上数据库对数据的高效管理,使得数据读写变得轻松,避免了原理日志服务器的 IO 压力。
-
无法实时分析:可以部署一个日志分析系统来辅助分析,苦难的分析工作瞬间变得简单。
-
分析需要消耗很多计算机资源:分布式处理分担处理压力
接下来我就给大家介绍一款高性能的日志收集、存储、分析架构,
同时也是一个可以使用 web 页面查看日志的可视化架构:
rsyslog+mariadb+loganalyzer
环境准备:与前面课程提到的集中式日志服务器的架构一样,只是这个架构是在 server 上搭建的,也就是 IP 地址为 192.168.1.55 的这台主机上
server 端的环境准备和设置
setp 1 安装所需要的软件包
[root@zutuanxue ~]# dnf install mariadb mariadb-server rsyslog-mysql -y
step 2 启动 mariadb 服务
[root@zutuanxue ~]# systemctl restart mariadb
[root@zutuanxue ~]# systemctl status mariadb
**step 3 设置 mariadb **
## 将 mariadb 的管理员密码设置为‘123456’
[root@zutuanxue ~]# mysqladmin -u root password 123456


## 建立日志服务需要用到的数据库
[root@zutuanxue ~]# cd /usr/share/doc/rsyslog/
[root@zutuanxue rsyslog]# mysql -u root -p < mysql-createDB.sql
Enter password:


## 进入到 mariadb 中验证一下是否有一个叫 Syslog 的数据库,如果有就代表前面的操作成功
[root@zutuanxue rsyslog]# mysql -u root -p
Enter password:
MariaDB [(none)]> show databases;
+--------------------+
| Database           |
+--------------------+
| Syslog             |
step 4 为后面将要用到的用户进行授权,允许用户访问 mairadb 中的 Syslog 库
# 允许一个叫 syslogroot 的用户从 127.0.0.1、192.168.1.55、192.168.1.18 这三个 ip 地址访问我的数据库,密码为 syslogpass,设置完成之后刷新一下并退出(如果你的架构中还有其它的主机,只要修改数据库语句中的 IP 地址即可)
MariaDB [(none)]> grant all on Syslog.* to 'syslogroot'@'127.0.0.1'identified by 'syslogpass';
Query OK, 0 rows affected (0.000 sec)

MariaDB [(none)]> grant all on Syslog.* to 'syslogroot'@'192.168.1.55'identified by 'syslogpass';
Query OK, 0 rows affected (0.000 sec)

MariaDB [(none)]> grant all on Syslog.* to 'syslogroot'@'192.168.1.18'identified by 'syslogpass';
Query OK, 0 rows affected (0.000 sec)

MariaDB [(none)]> flush privileges;
Query OK, 0 rows affected (0.000 sec)

MariaDB [(none)]> quit
Bye
setp 5 修改 rsyslog 服务的配置文件
[root@zutuanxue ~]# vim /etc/rsyslog.conf
7 #### MODULES ####
.
.
.
 24 module(load="imtcp") # needs to be done just once
 25 input(type="imtcp" port="514")
 26 module(load="ommysql")# 加载一个叫 ommysql 的模块是日志服务可以连接 mariadb
 .
 .
 65 local7.*                 /var/log    /boot.log
 66
 # 告诉日志服务通过 ommysql 模块,将日志信息发送到 192.168.1.55 的 Syslog 库中,使用的用户名和密码就是我们在前一步设置的 syslogroot,syslogpass
 67 *.*     :ommysql:192.168.1.55,Syslog,syslogroot,syslogpass

 ## 重启日志服务
 [root@zutuanxue ~]# systemctl restart rsyslog
step 6 测试一下日志信息能否记录到数据库中
[root@zutuanxue ~]# logger "hello test test test"
[root@zutuanxue ~]# mysql -u root -p
Enter password:
MariaDB [(none)]> use Syslog;
Database changed
MariaDB [Syslog]> select * from SystemEvents\G
*************************** 8. row ***************************
                ID: 8
        CustomerID: NULL
        ReceivedAt: 2019-12-07 03:22:31
DeviceReportedTime: 2019-12-07 03:22:31
          Facility: 1
          Priority: 5
          FromHost: localhost
           Message: hello test test test
### 如果可以看到我们之前使用 logger 产生的日志信息及代表 rsyslog 可以将日志信息存入数据库中
step 7 设置 client(192.168.1.18), 此步骤是唯一一步需要对 client 的做出的设置
## 安装软件包
[root@zutuanxue ~]# dnf install rsyslog-mysql -y

## 修改服务的配置文件添加相应内容 (与 server 端添加的内容一致)
[root@zutuanxue ~]# vim /etc/rsyslog.conf
module(load="ommysql")
*.*     :ommysql:192.168.1.55,Syslog,syslogroot,syslogpass
[root@zutuanxue ~]# systemctl restart rsyslog

### 测试一下 client 的日志信息能否在 server 端的数据库中查看
###client
[root@zutuanxue ~]# logger "hello this is a test from client 18"


####server 端使用与刚才相同的方法去查看内容
MariaDB [Syslog]> select * from SystemEvents\G
*************************** 28. row ***************************
                ID: 28
        CustomerID: NULL
        ReceivedAt: 2019-12-07 03:30:28
DeviceReportedTime: 2019-12-07 03:30:28
          Facility: 1
          Priority: 5
          FromHost: localhost
           Message: hello this is a test from client 18
step 8 server 端安装支持 web 页面查看日志的工具 loganalyzer
[root@zutuanxue ~]# dnf install httpd php php-mysqlnd php-gd -y
[root@zutuanxue ~]# tar fx loganalyzer-4.1.8.tar.gz
[root@zutuanxue ~]# cp -r loganalyzer-4.1.8/src/* /var/www/html/
[root@zutuanxue ~]# cp loganalyzer-4.1.8/contrib/* /var/www/html/
[root@zutuanxue ~]# cd /var/www/html/
[root@zutuanxue html]# sh configure.sh
[root@zutuanxue html]# systemctl restart httpd
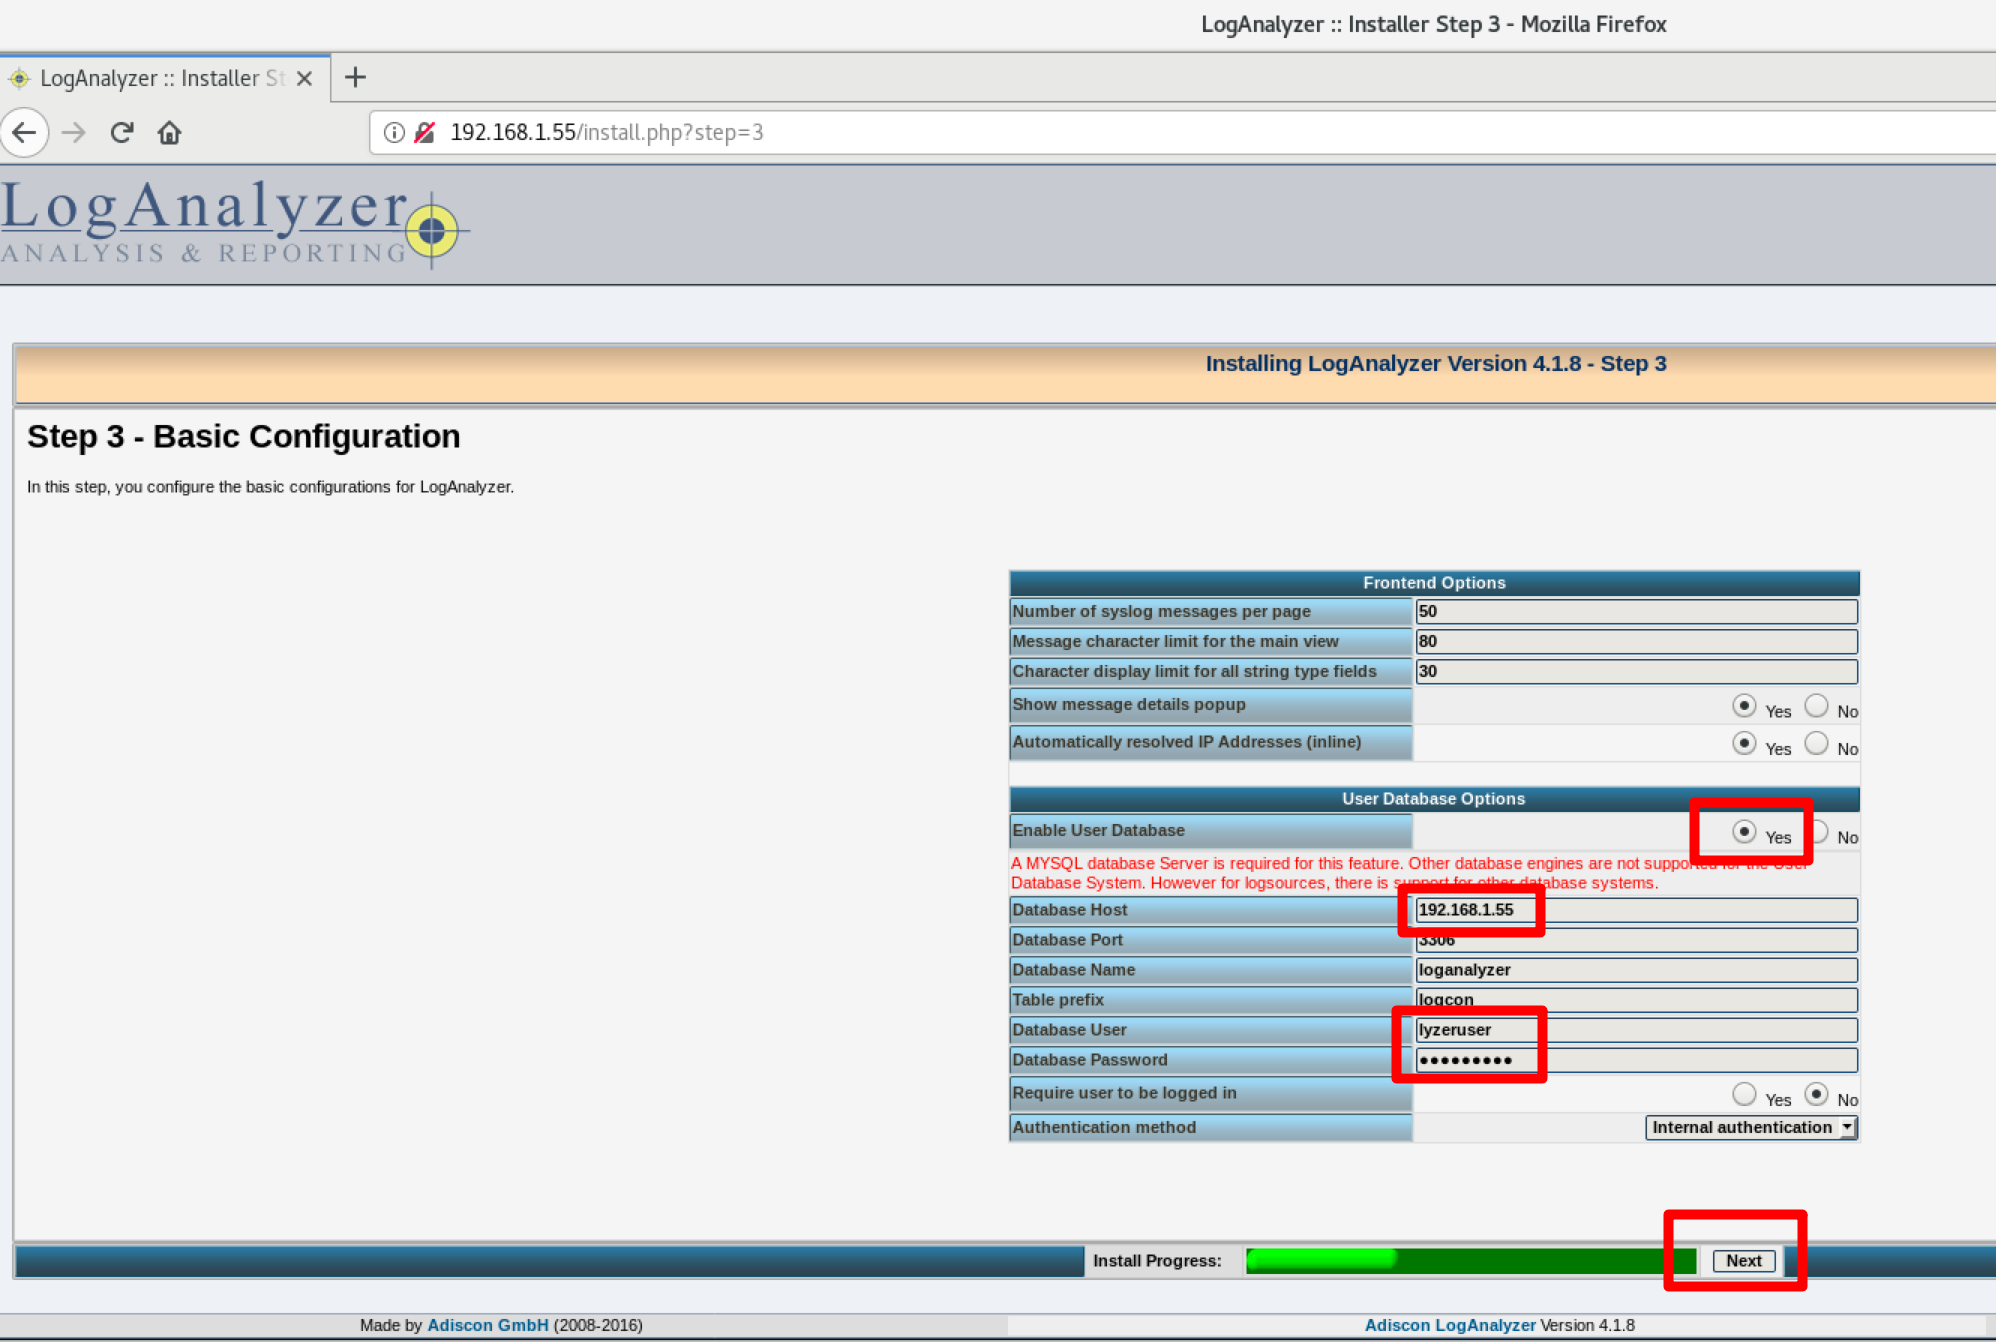
step 9 在 mariadb 中创建 lyzeruser 工具需要用到的库、用户并授权
[root@zutuanxue html]# mysql -u root -p
Enter password:
MariaDB [(none)]> create database loganalyzer;
Query OK, 1 row affected (0.000 sec)

MariaDB [(none)]> grant all on loganalyzer.* to lyzeruser@'192.168.1.55' identified by 'lyzeruser';
Query OK, 0 rows affected (0.000 sec)

MariaDB [(none)]> flush privileges;
Query OK, 0 rows affected (0.001 sec)

MariaDB [(none)]> quit
Bye
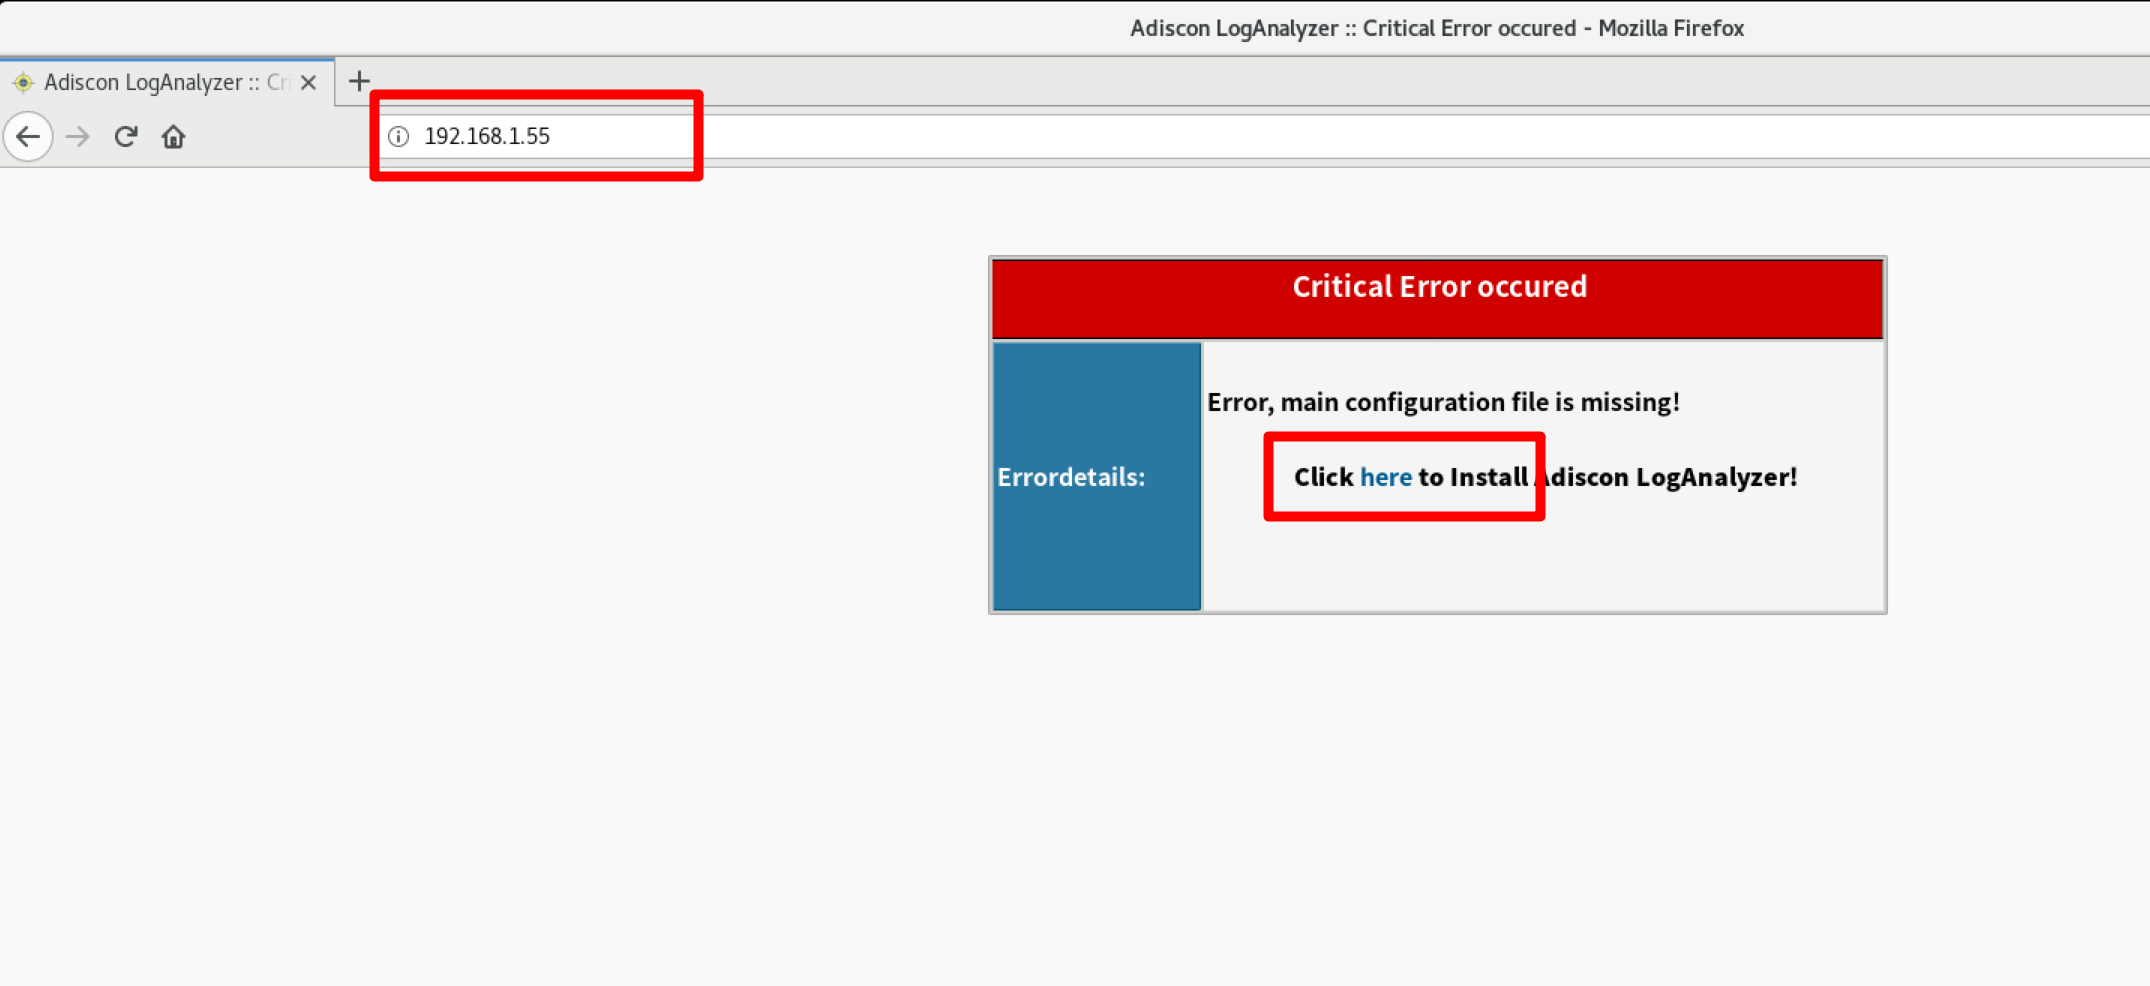
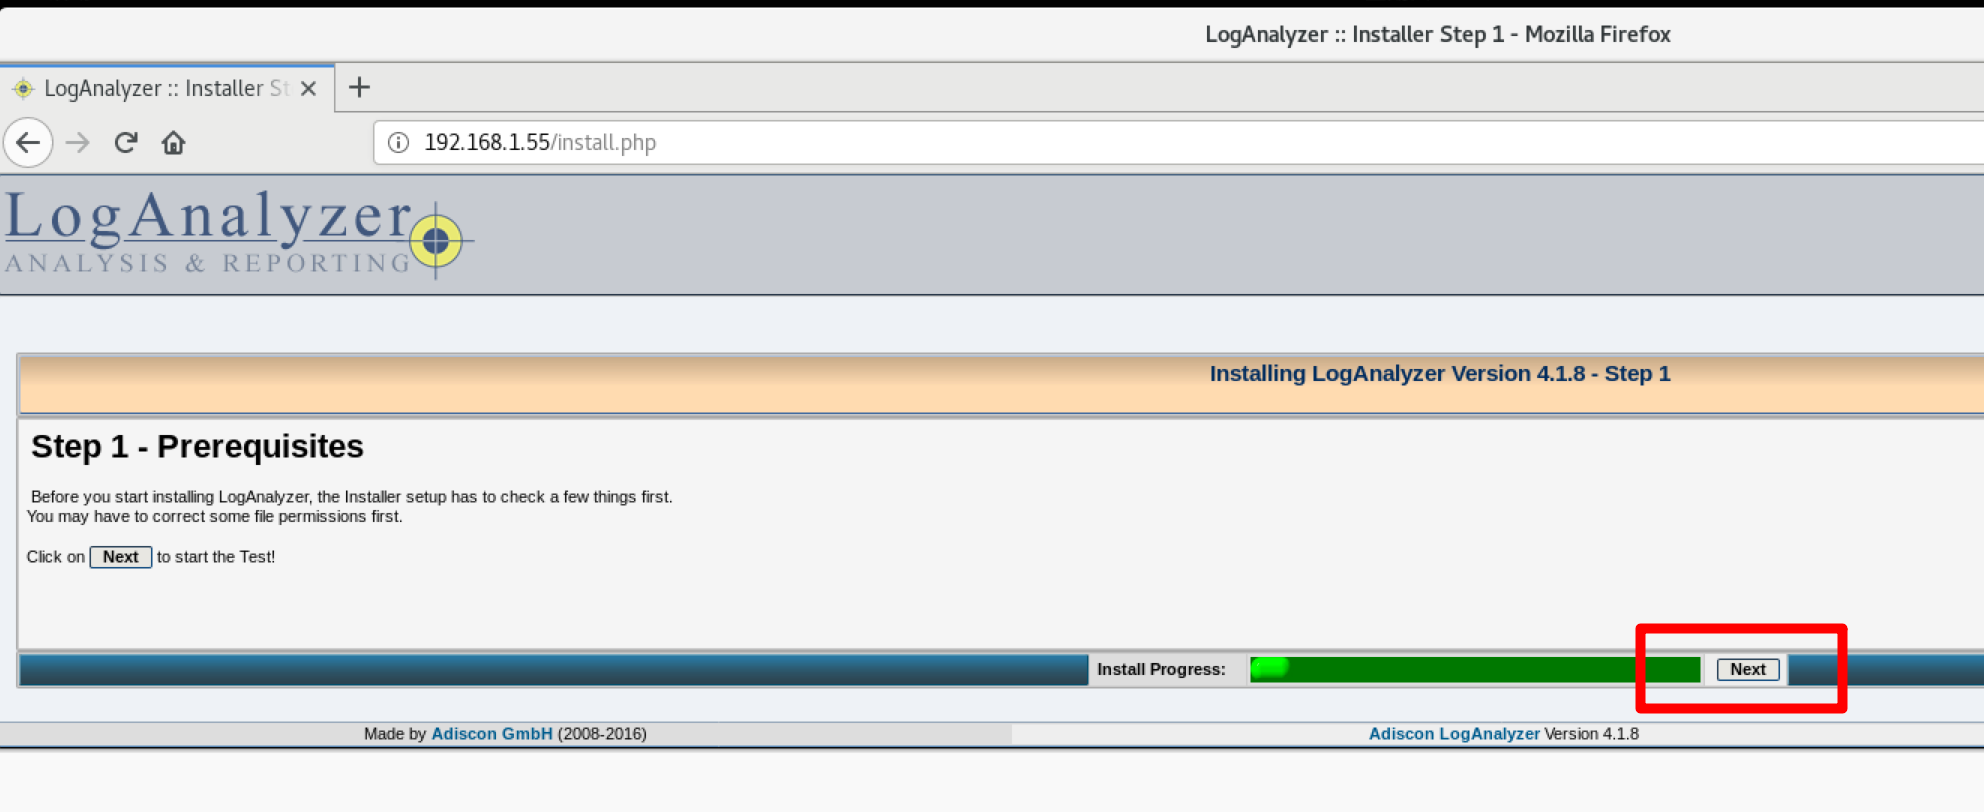
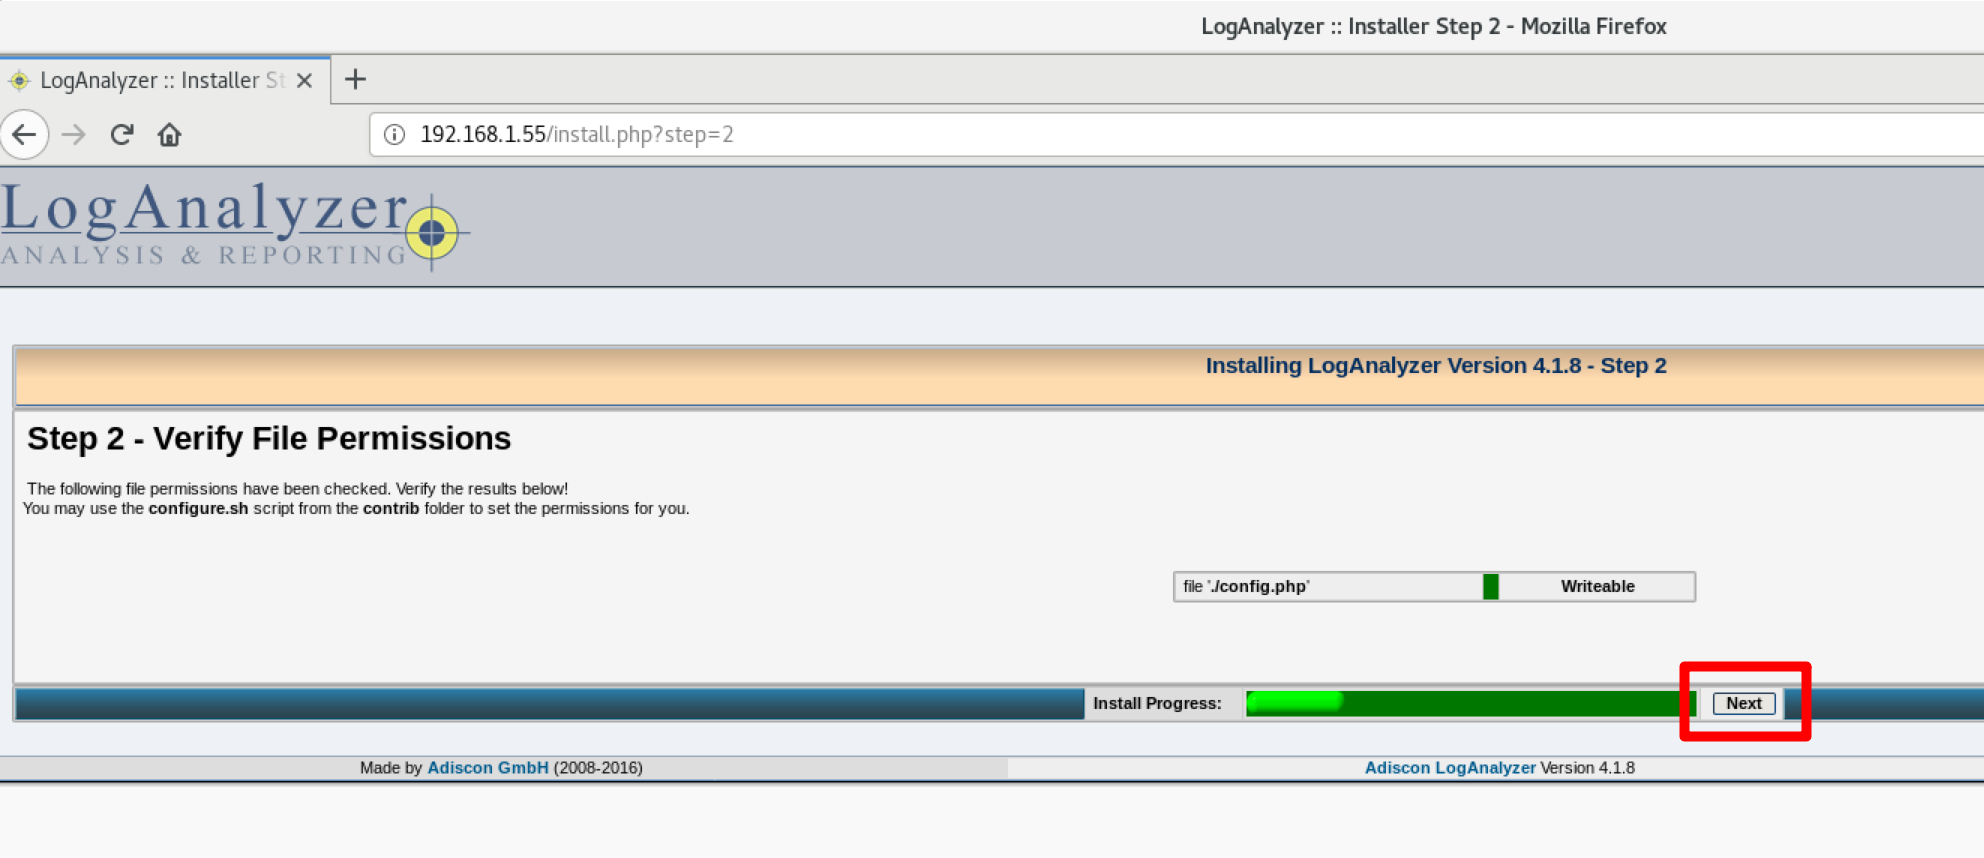
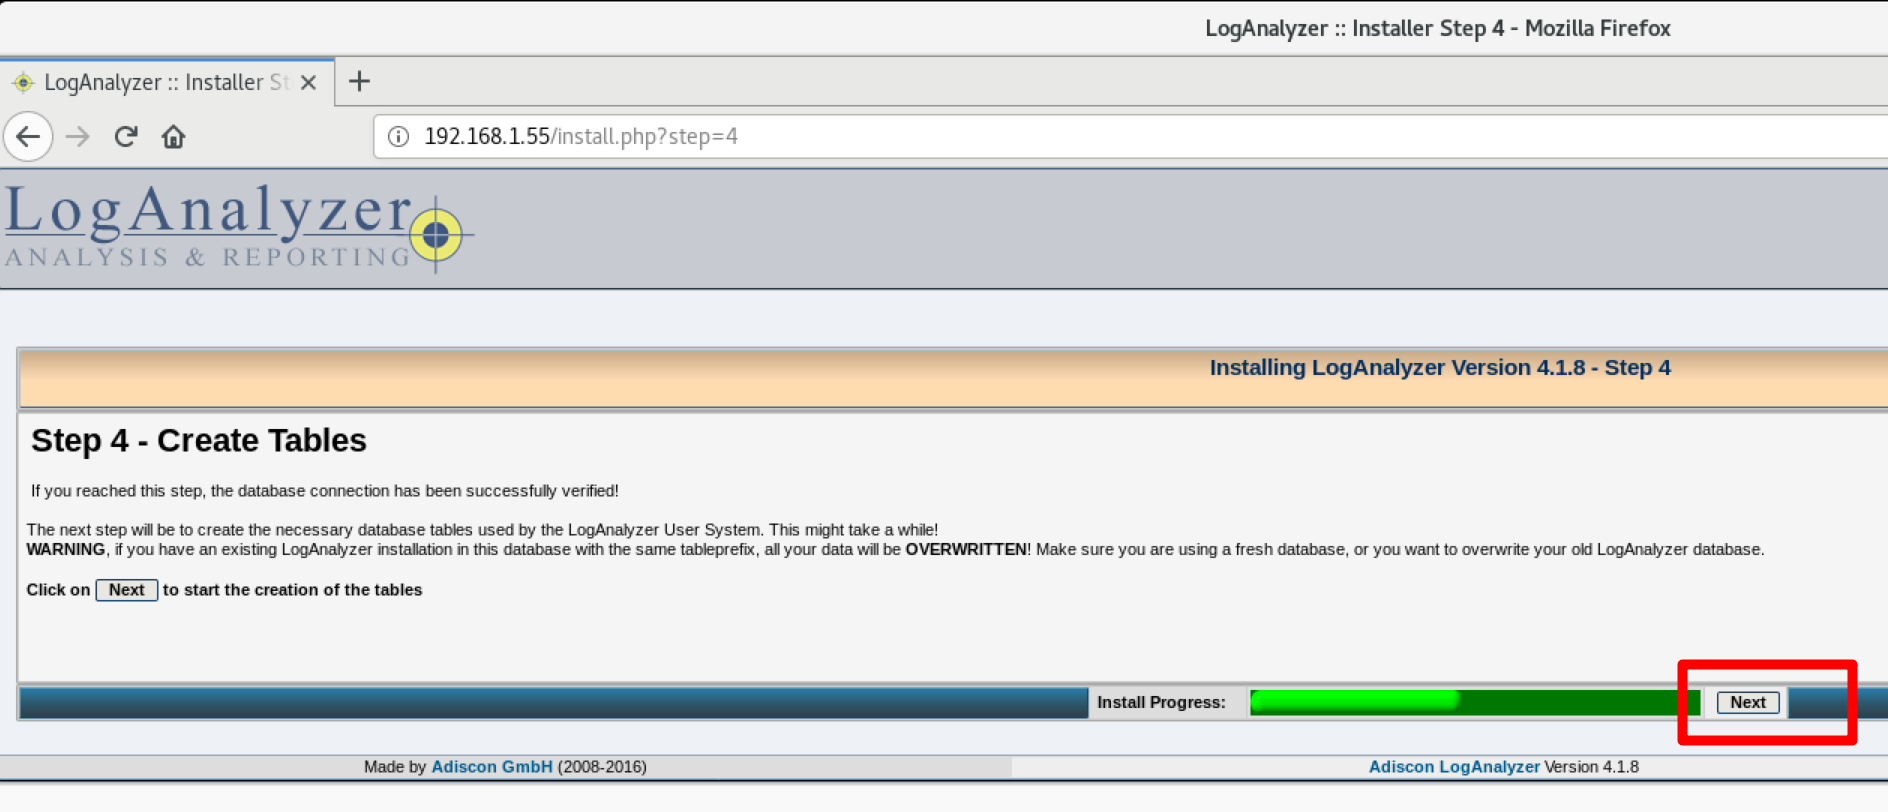
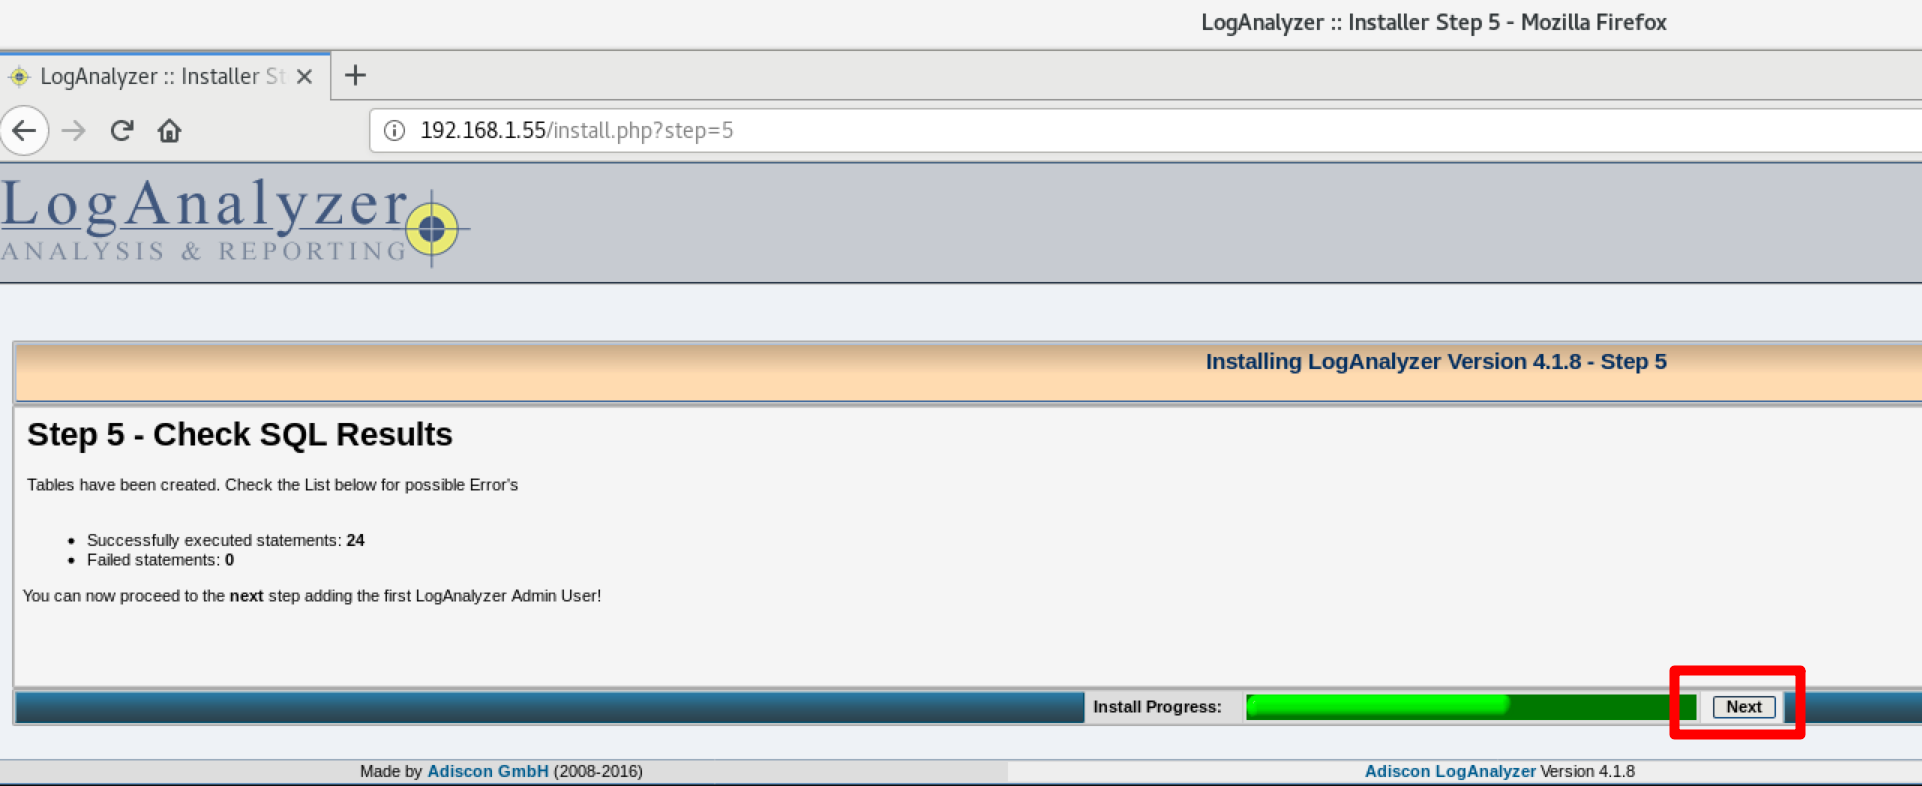
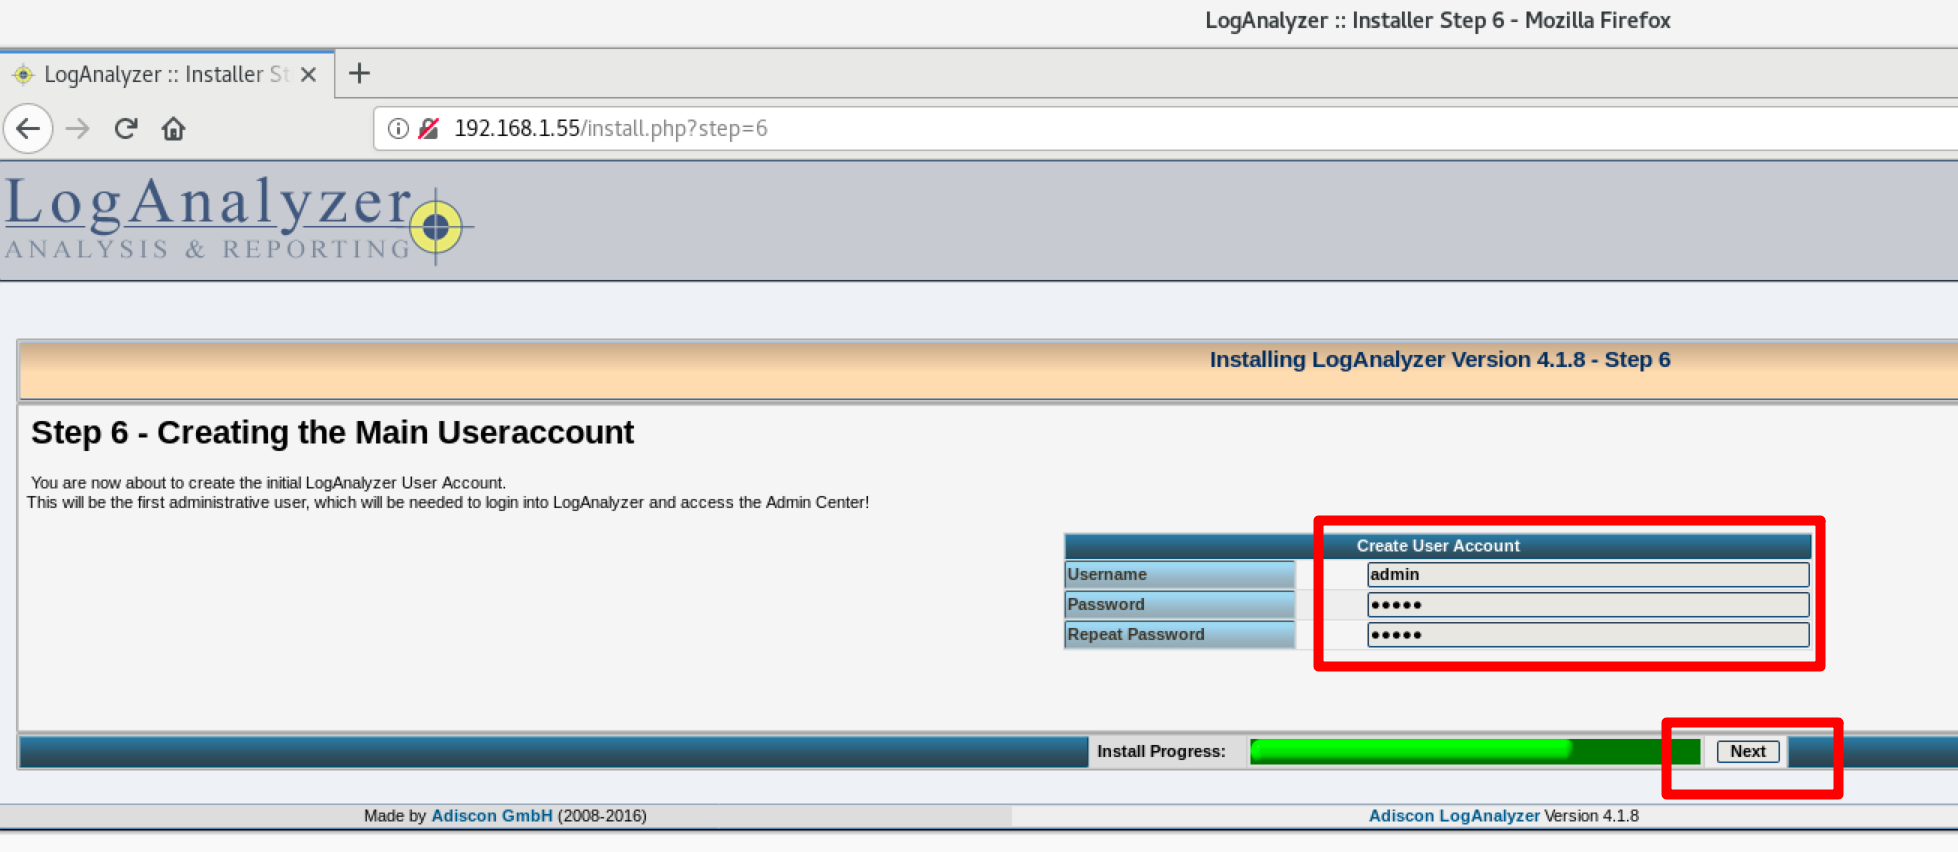
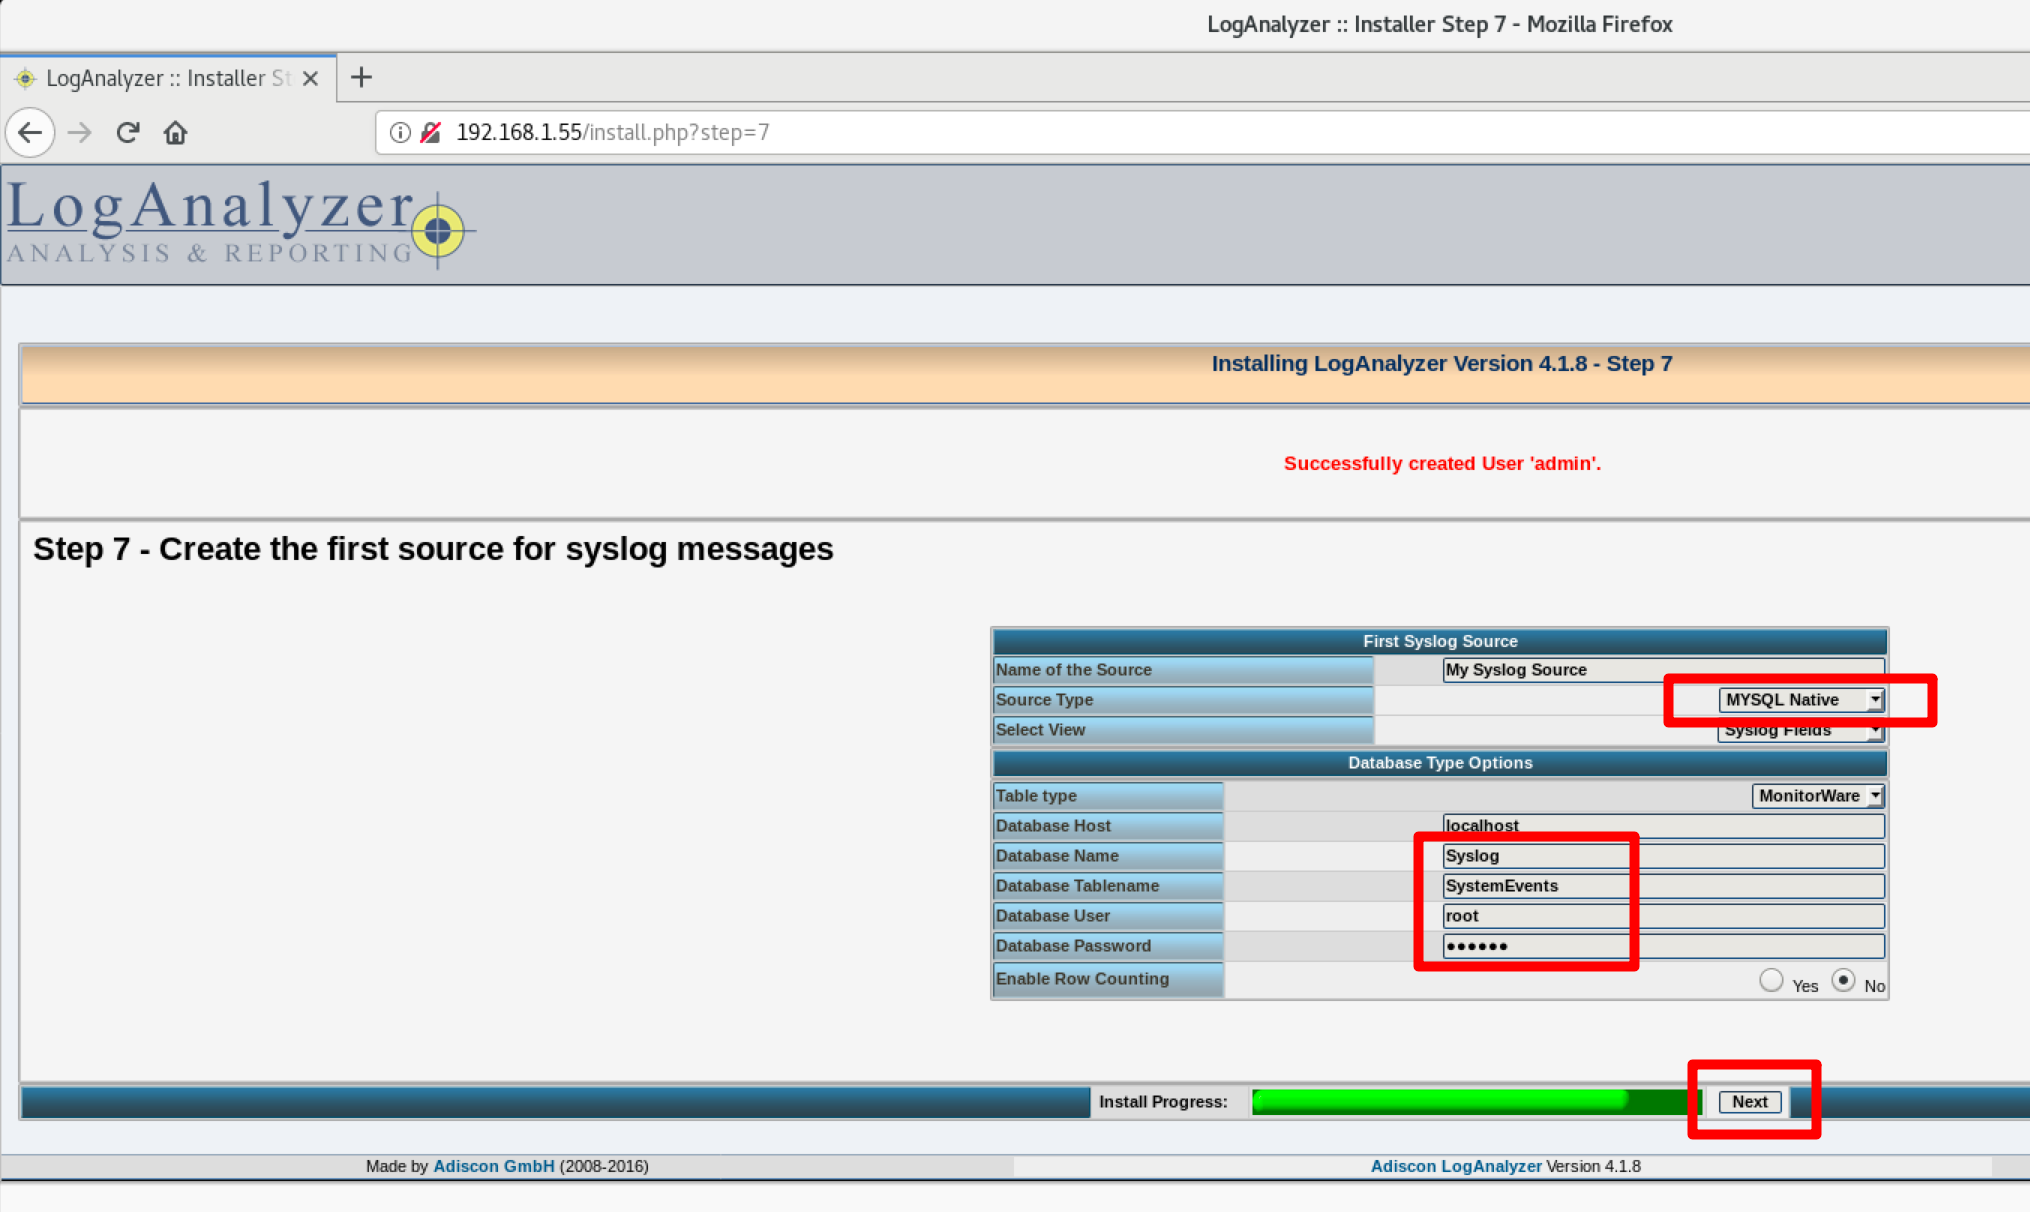
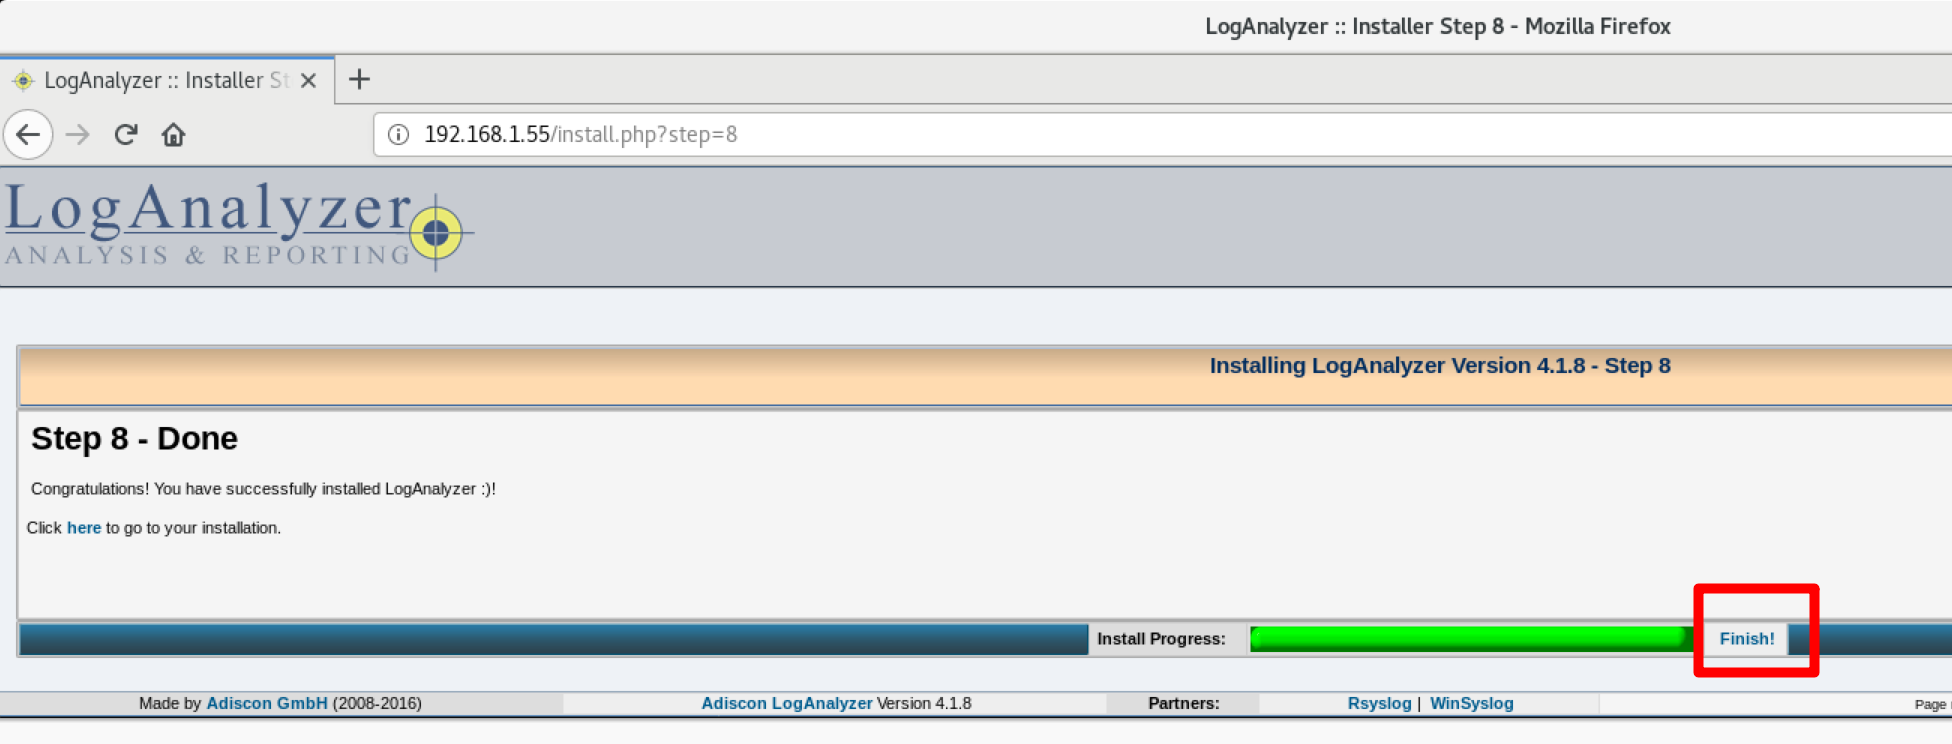
step 10 打开浏览器,部署 loganalyzer
