共计 702 个字符,预计需要花费 2 分钟才能阅读完成。
安装完 Kibana 直接就可以访问,这样不利于安全,接下来我们利用 Apache 的密码认证进行安全配置
apache 配置文件如下:
<VirtualHost *:8080>
DocumentRoot /data/kibana
ServerName localhost
ErrorLog “/data/kibana/logs/kibana-error.log”
CustomLog “/data/kibana/logs/kibana-access.log” common
<Directory “/data/kibana”>
Options Indexes
AllowOverride AuthConfig
AuthType Basic
AuthName “Authenticated proxy”
AuthUserFile /data/kibana/.htpasswd
Require valid-user
Order allow,deny
Allow from all
</Directory>
</VirtualHost>
AuthUserFile /data/kibana/.htpasswd
这就是我们要存放密码的文件
接下来生成密码
#htpasswd -c /data/kibana/.htpasswd user
#New password:
#Re-type new password:
#Adding password for user bidduser
这样我们就给 user 用户生成了密码
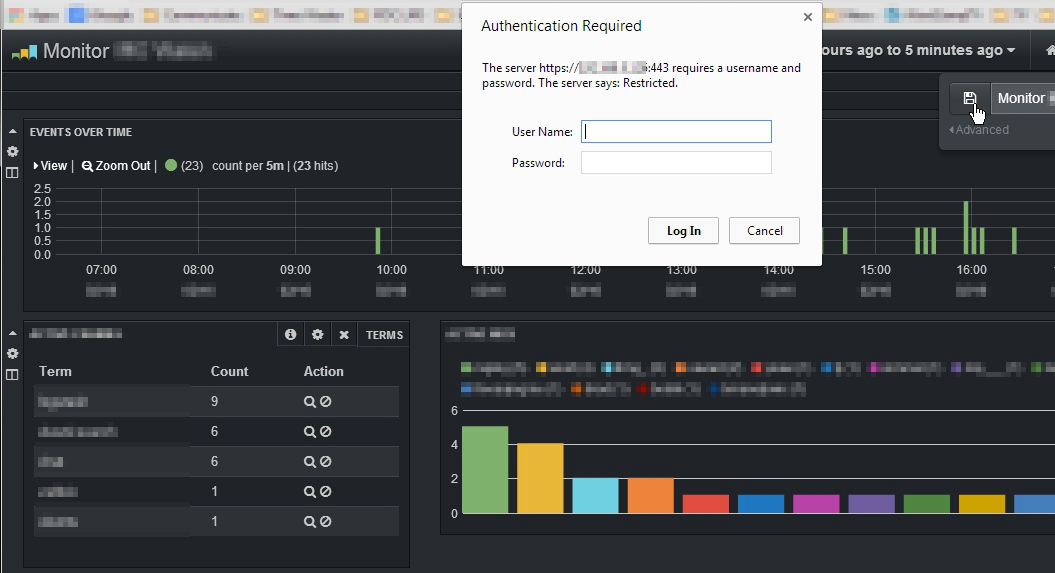
再次访问看看

本文永久更新链接地址 :http://www.linuxidc.com/Linux/2015-09/122804.htm


