共计 3038 个字符,预计需要花费 8 分钟才能阅读完成。
Graphite 是一块实时监控软件,其由 3 部分组成,存储数据的 wishper, 接受数据的 carbon,以及可视化显示的 Graphite-web, 三者合是款性能不错得企业级开源监控软件, 目前国内豆瓣,渣浪都在使用~ 下面得安装假设你的系统是刚刚安装的 Ubuntu 14.04。
1. 更新软件包索引与系统
sudo apt-get update
sudo apt-get upgrade
2. 安装更新 graphite 依赖
sudo apt-get install python-django python-cairo python-pip python-django-tagging
3. 安装 twisted
因为对于 carbon 对 twisted 特定版本有依赖,所以还不能单纯的安装最新版的 twisted,通过 pip 安装
为使 twisted 顺利编译安装,sudo apt-get install python-dev
sudo pip install "twisted<12.0"
4. 安装 nginx 与 uwsgi 以及相应模块(graphite-web 是基于 django 开发的)
sudo apt-get install -y nginx uwsgi-plugin-python uwsgi
5. 安装 graphite 套件
sudo pip install whisper carbon graphite-web
以上就完成了 graphite 依赖环境与其自身所有的安装,之后根据实际需求分别进行配置 graphite,nginx 与 uwsgi 这三个部分,其实就是基于 nginx 配置 django 应用,具体如下:
6. 修改配置文件(nginx,uwsgi,graphite,)
Graphite
/opt/graphite/为 graphite 的默认安装路径, 其中 /opt/graphite/conf/ 存放的 graphite 的配置文件
cp storage-schemas.conf.example storage-schemas.conf
cp storage-aggregation.conf.example storage-aggregation.conf
cp carbon.conf.example carbon.conf
cp graphite.wsgi.example wsgi.py
cp /opt/graphite/webapp/graphite/{local_settings.py.example,local_settings.py}
打开 local_settings.py 修改时区TIME_ZONE='Asia/Shanghai'
Nginx
#/etc/nginx/sites-available/graphite
server {
   listen 8080;
   charset utf-8;
   access_log /var/log/nginx/graphite.access.log;
   error_log  /var/log/nginx/graphite.error.log;
   location /{
    include uwsgi_params;
    uwsgi_pass 0.0.0.0:8888;}}
建立软连接到 site-enabled 启用该 VirtualHost
ln -s /etc/nginx/sites-available/graphite /etc/nginx/sites-enabled/
uWSGI
#/etc/uwsgi/apps-available/graphite.ini[uwsgi] processes =2
socket =0.0.0.0:8888
gid = www-data
uid = www-data
chdir =/opt/graphite/conf
module= wsgi:applicationdpuf
建立软连接到 /etc/uwsgi/apps-enabled 使该配置生效 ln -s /etc/uwsgi/apps-available/graphite.ini /etc/uwsgi/apps-enabled/
上面即完成了 3 者的配置,不过最好还是能通过 supervisor 进程守护去管理 uwsgi 的启动,这样可以有效的防治 uwsgi 意外挂掉
Graphite(Dajngo)
配置完毕后,就能着手启动 graphite 工作了, 但在这之前还需要同步一下 graphite 的数据库并修改一些文件的权限,如下 sudo python /opt/graphite/webapp/graphite/manage.py syncdb 与 Django 中相同,不过要考虑文件路径的权限,否则可能因为权限数据库无法顺利创建出来
修改 /opt/graphite/webapp 与/opt/graphite/storage文件权限为www-data, 因为 uwsgi 的启动用户是www-data
chown -R www-data:www-data /opt/graphite/webapp/ /opt/graphite/storage/
7. 启动 graphite
至此所有全部搞定,先开 carbon,再开 uwsgi,最后 nginx
/opt/graphite/bin/carbon-cache.py start
/etc/init.d/uwsgi restart
/etc/init.d/nginx restart
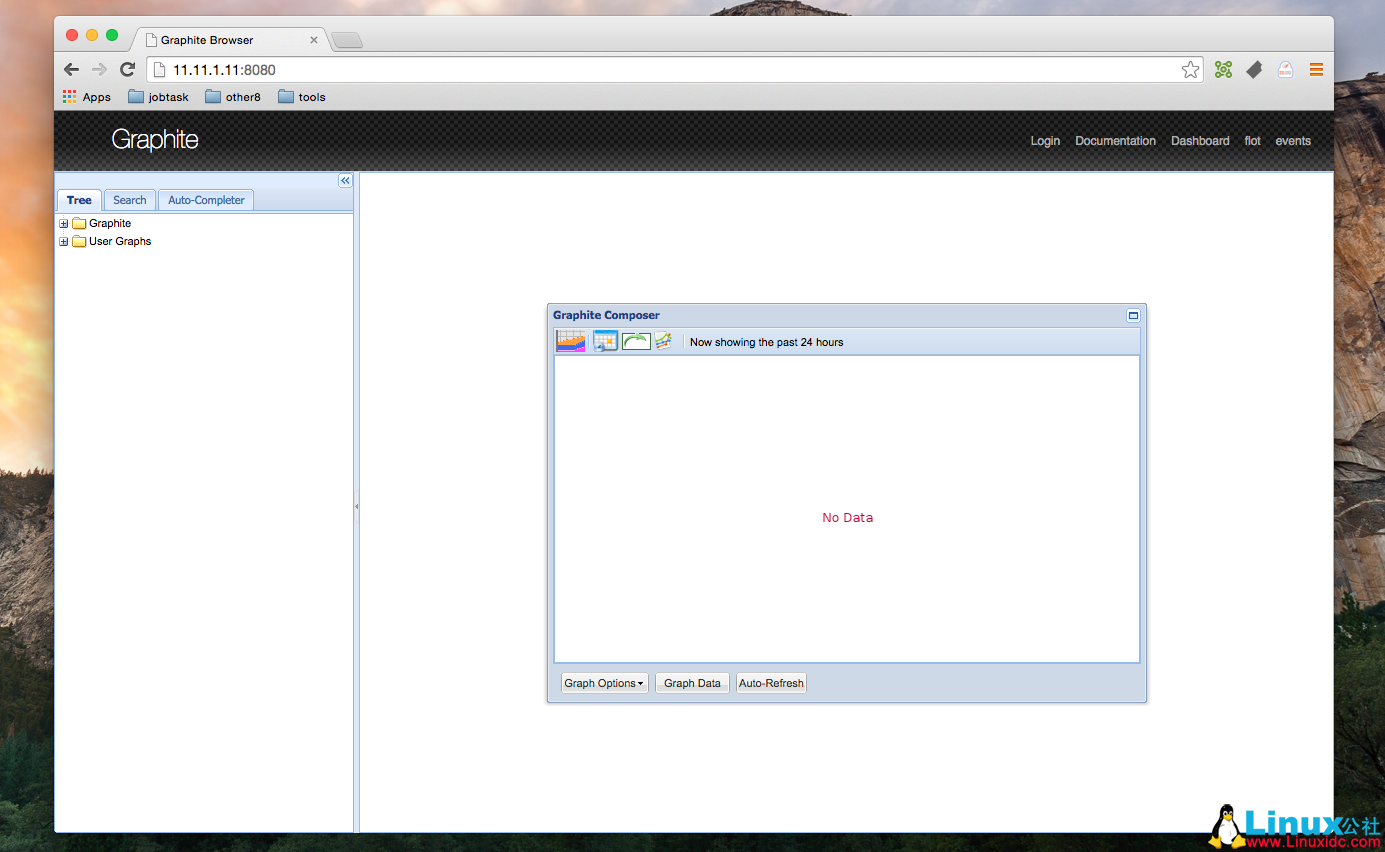
打开浏览器, 输入 http://ip:8080 就能看到效果了,如果不能正确出图, 就要排查 nginx 或者 uwsgi 的问题了,一般这里出错居多,反正我是如此
排错你可能会需要这几个日志
#Nginx 日志/var/log/nginx/graphite.error.log
/var/log/nginx/graphite.access.log

#uwsgi 日志/var/log/uwsgi/app/graphite.log
注意事项
ImportError: No module named defaults
最后补充一个问题,就是 django 版本问题引起的 ImportError:Nomodule named defaults 错误,因为在 django1.6 中把这个模块删除了,但是 graphite 还是 1.5 的版本,你需要修改的就是所有 django.conf.urls.defaults 改为from django.conf.urls import patterns, url, include 大概有十个多这样的文件,另外一个办法是通过源码安装 graphite-web, 因为该 bug 已经在 graphite 的 master 分支中修复过了,通过二进制安装出现这样的问题,多半是更新没有及时到二进制包种,这样侧面说明了源码安装的好处~,whatever,还是跑起来可以看到画图了,之后就是自己使用 statsd,collectd 这样的收集数据工具给 graphite 喂数据了。后续我会写相关案例文章,尽情关注~

- 完 -
Ubuntu 14.04 安装图形监控工具 Graphite http://www.linuxidc.com/Linux/2015-08/122435.htm
CentOS 5.5 安装 Graphite http://www.linuxidc.com/Linux/2013-06/86597.htm
更多 Ubuntu 相关信息见Ubuntu 专题页面 http://www.linuxidc.com/topicnews.aspx?tid=2
本文永久更新链接地址:http://www.linuxidc.com/Linux/2015-08/122445.htm


