共计 2648 个字符,预计需要花费 7 分钟才能阅读完成。
近阶段一直在查看项目里所使用到的一些技术点,发现了 gearman, 于是就动手搞了下环境,下面是来自百度百科关于 gearman 的介绍:
1. 更新
sudo apt-get update
wget https://launchpad.net/gearmand/1.2/1.1.12/+download/gearmand-1.1.12.tar.gz
tar zxvf gearmand-1.1.12.tar.gz
cd gearmand-1.1.12/
./configure
configure: error: could not find boost
sudo apt-get install libboost-dev
接着重新执行:./configure
configure: error: Could not find a version of the library!
sudo apt-get install libboost-all-dev
接着重新执行:./configure
configure: error: could not find gperf
sudo apt-get install gperf*
接着重新执行:./configure
configure: error: Unable to find libevent
sudo apt-get install libevent-dev
接着重新执行:./configure
configure: error: Unable to find libuuid
安装 libuuid
这里不能通过 sudo apt-get install 来安装了,找不到,通过下面方式安装
wget http://nchc.dl.sourceforge.net/project/libuuid/libuuid-1.0.3.tar.gz
sudo tar zxvf libuuid-1.0.3.tar.gz
cd libuuid-1.0.3/
./configure
没有错误的情况下继续
sudo make
sudo make install
接下来继续上面的安装
./configure
sudo make && make install
这里要等一段时间。。
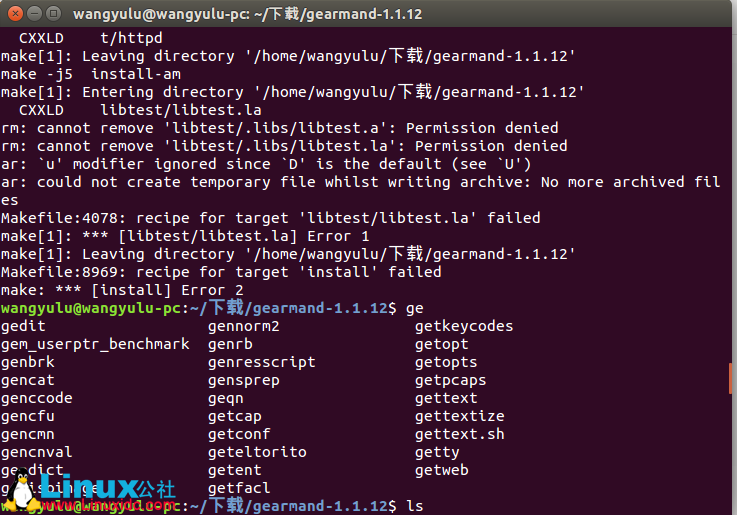
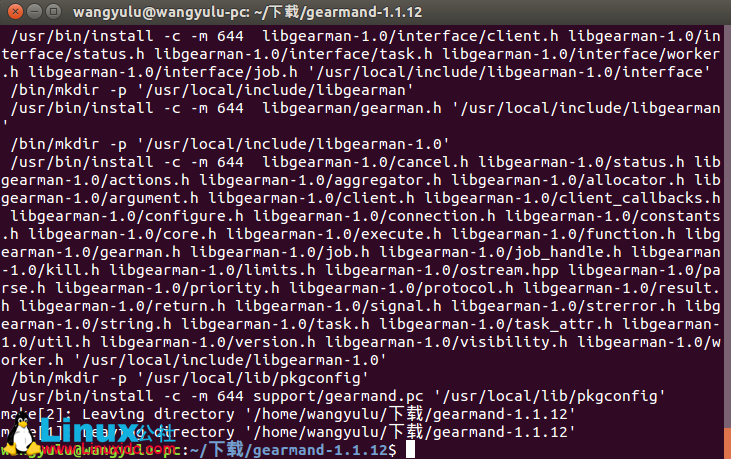
根据上图运行结果来看并没安装成功,继续往下
sudo make clean (清除上次的 make 命令所产生的 object 文件(后缀为“.o”的文件)及可执行文件。)
重新安装
./configure
sudo make
sudo make install
貌似没有错误,继续
gearman
第一次运行会看到以下提示:
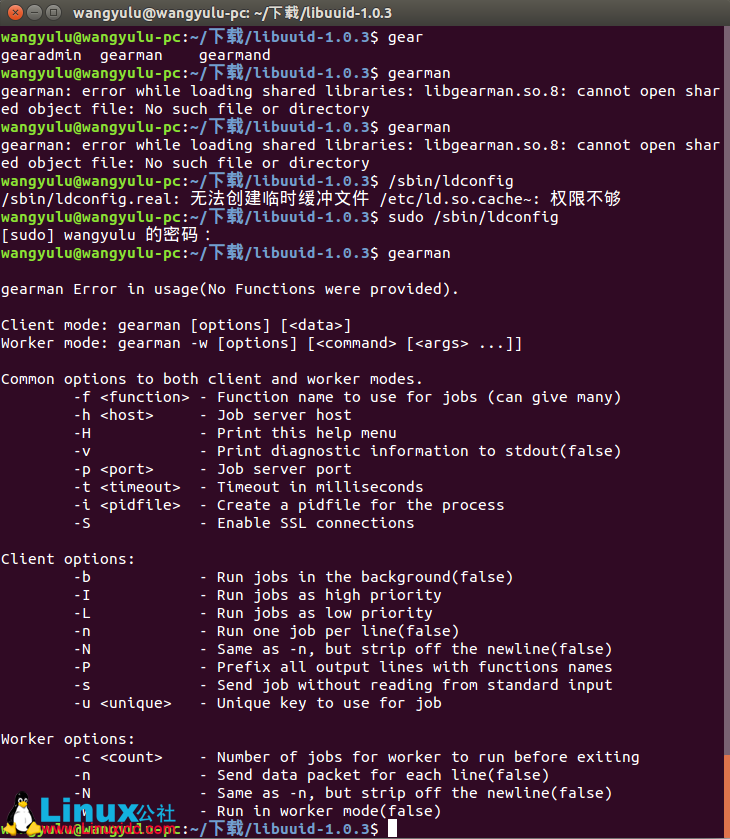
gearman: error while loading shared libraries: libgearman.so.8: cannot open shared object file: No such file or directory
(这表示系统不知道 libgearman.so.8 放在哪个目录下。要在 /etc/ld.so.conf 中加入 libgearman.so.8 所在的目录。检查了下,文件所在目录为 /usr/local/lib。因此出现这个问题的原因是 libgearman.so.8 刚生成,没有加入到 ld.so.cache 中,所以这时需要重新运行一下 /sbin/ldconfig( ldconfig 命令的作用):)
sudo /sbin/ldconfig
此时再执行 gearman 则已安装成功!
安装完 Job Server 之后,用 gearmand –d 命令启动
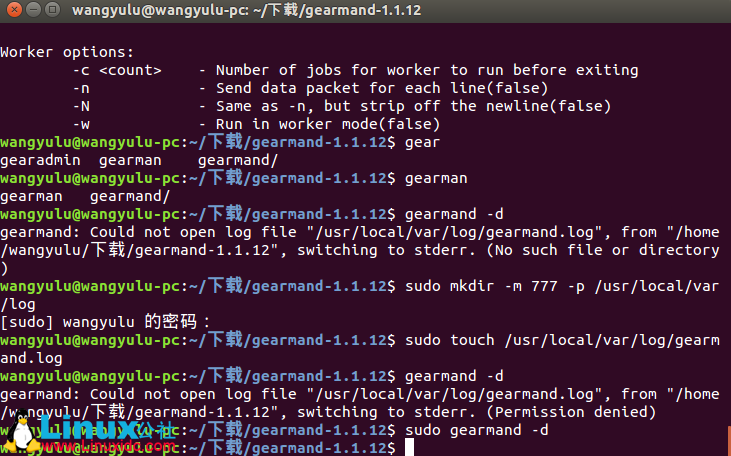
gearmand -d
第一次运行会看到以下提示:
gearmand: Could not open log file “/usr/local/var/log/gearmand.log”, from “/home/wangyulu/ 下载 /gearmand-1.1.12”, switching to stderr. (No such file or directory)
在提示的目录下创建好 /log/gearmand.log 文件,再次执行上述命令,就正常启动了 job server。
sudo gearmand -d
到这里就已经完全 ok 了
安装 PHP Gearman 扩展
wget http://pecl.php.net/get/gearman-1.1.2.tgz
sudo tar zxvf gearman-1.1.2.tgz
cd gearman-1.1.2/
sudo phpize (这里可能会提示没有此命令,执行 sudo apt-get install php5-dev 安装)
sudo ./configure
sudo make
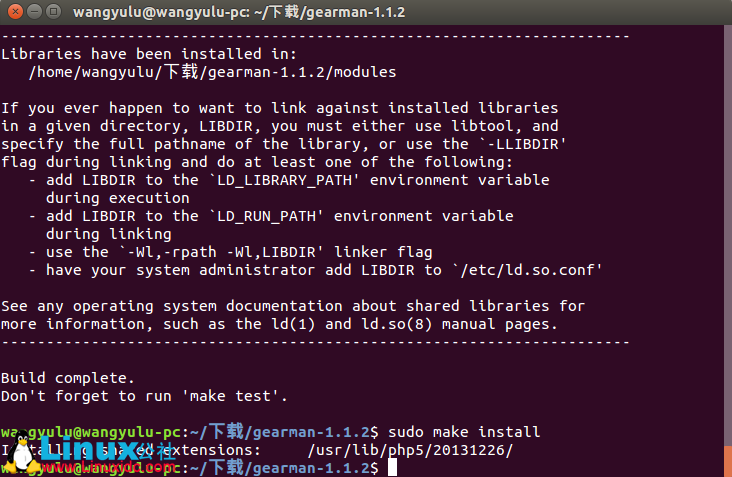
sudo make install
sudo echo “extension=gearman.so” >> /etc/php5/apache2/php.ini (注意这里 php.ini 位置)
sudo /etc/init.d/apache2 restart
这时查看 php_info 时就应该看到 gearman 扩展了
代码完成:
https://gist.github.com/andreaspag/6242671/archive/a66d18d191b880c1f8210deb612eb51b185f0892.zip
解压后把里面的文件复制到相应目录即可,如我是在用 netbeans 开发,我会把它放在
/usr/local/netbeans-8.1/php/phpstubs/phpruntime 这个目录里;
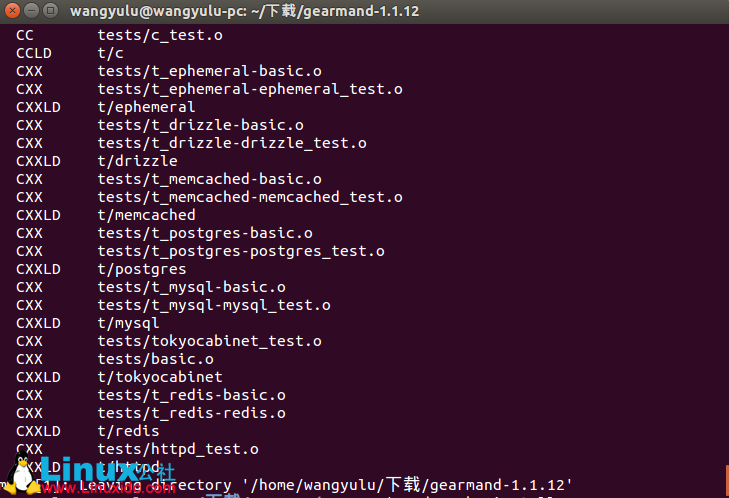
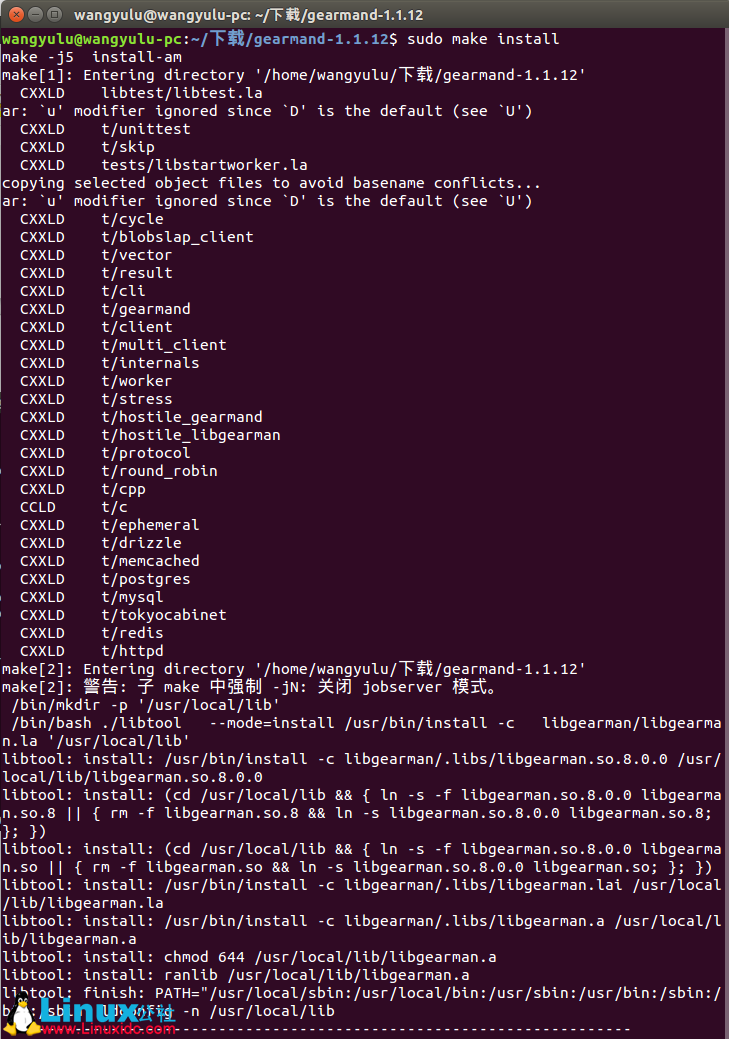
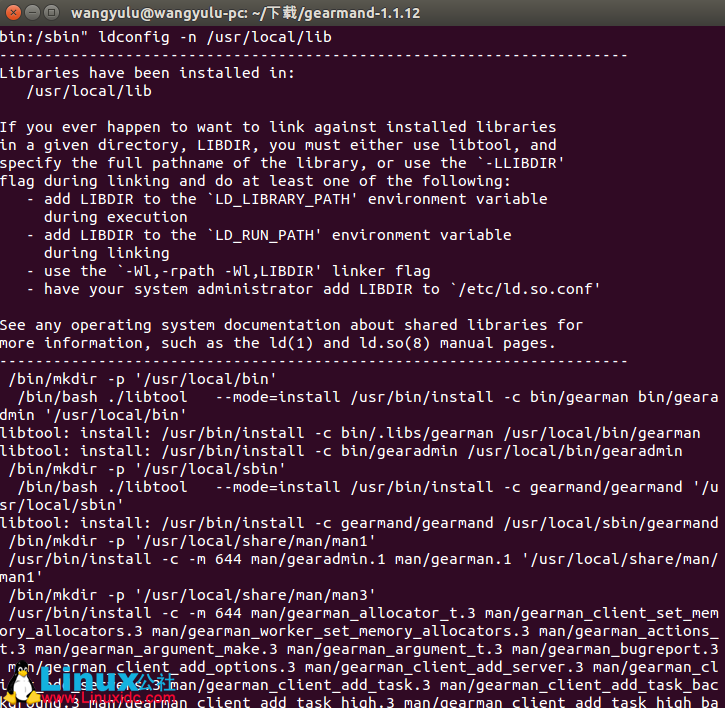
以下是安装 Job Server 时的部分截图
PHP Gearman 扩展

Calabash+Gearman 实现多手机同步测试机制 http://www.linuxidc.com/Linux/2015-01/111587.htm
分布式的任务分发框架 -Gearman http://www.linuxidc.com/Linux/2015-01/111385.htm
使用 supervisor 监控 Gearman 任务的例子见:http://www.linuxidc.com/Linux/2015-01/111384.htm
通过 Gearman 实现 MySQL 到 Redis 的数据同步(异步复制)http://www.linuxidc.com/Linux/2015-01/111380.htm
本文永久更新链接地址 :http://www.linuxidc.com/Linux/2016-03/129348.htm


