共计 2433 个字符,预计需要花费 7 分钟才能阅读完成。
ASP.NET Core 发布至 Linux 生产环境 Ubuntu 系统,之前跟大家讲解了 dotnet publish 发布,而没有将整个系统串起来。今天就跟大家综合的讲一下 ASP.NET Core 发布至 Linux 生产环境。
开发及发布环境:WIN10 x64
生产 Linux 环境:Ubuntu 14.04
发布的示例代码:https://github.com/linezero/NETCoreBBS
代码下载下来,首先请注释 Program.cs 中 .UseUrls(“http://*:80”)
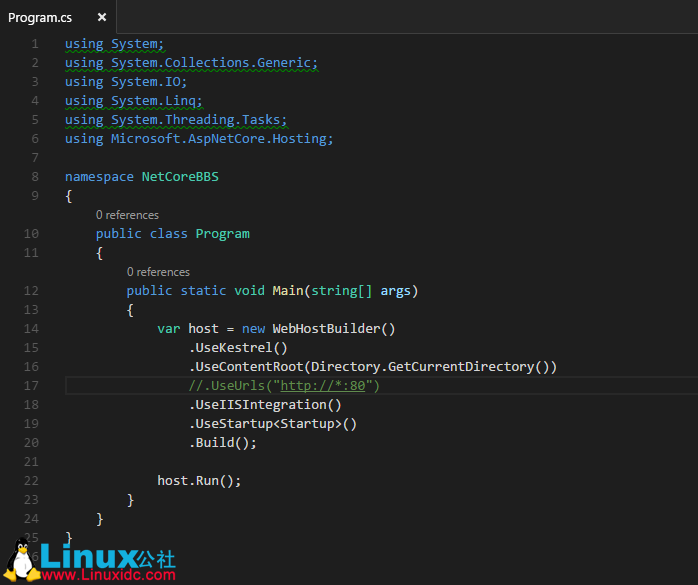
本篇将以发布 dotnet publish 两种方式做介绍。
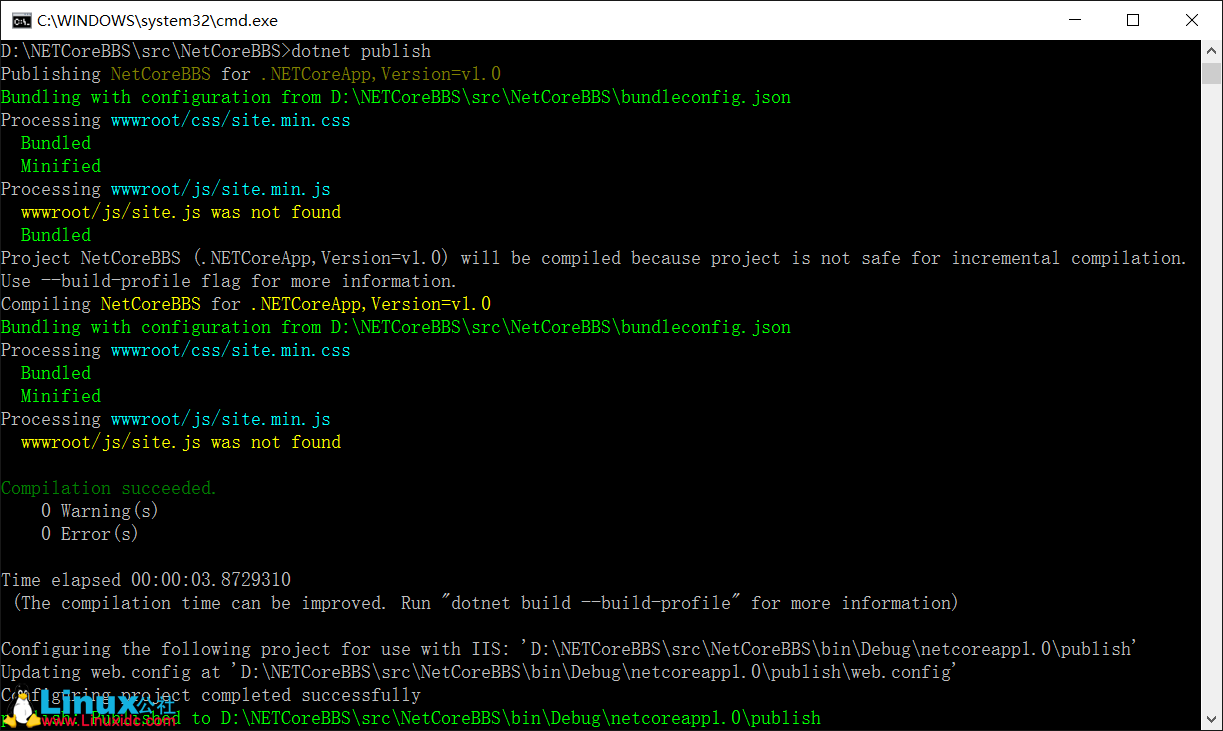
默认发布
下载示例代码,定位到 src\NetCoreBBS 文件夹。
首先 dotnet restore, 然后输入 dotnet publish 命令既可。
自带运行时发布
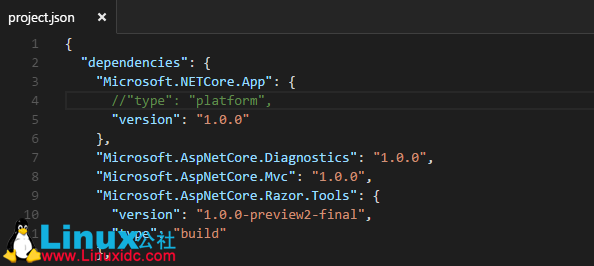
定位到 src\NetCoreBBS 文件夹, 打开 project.json 文件。
注释掉 “type”: “platform”
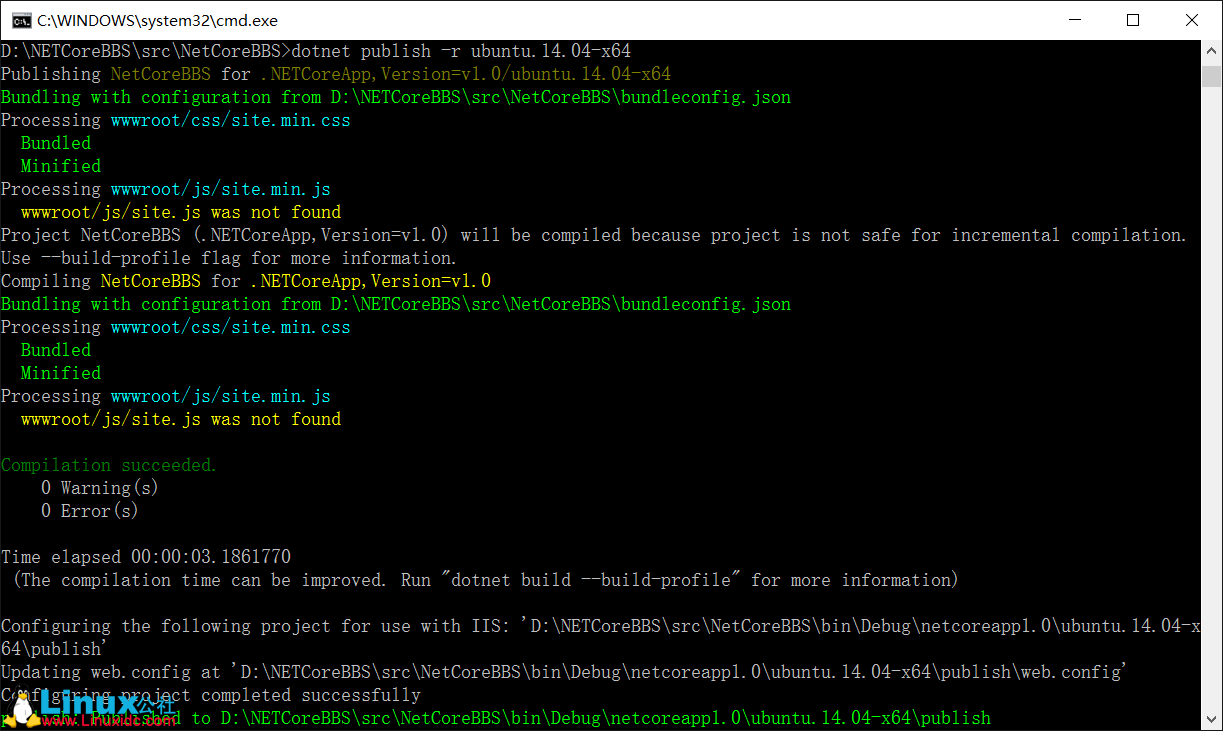
首先同样 dotnet restore, 然后输入 dotnet publish -r ubuntu.14.04-x64
Ubuntu 配置
将刚才发布的文件夹分别上传至 ubuntu 系统,这里给大家推荐一个工具 WinSCP。
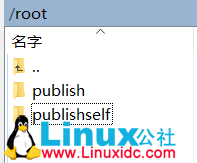
对于默认发布,则使用,dotnet NetCoreBBS.dll 这里需要安装.NET Core SDK。

对于自带运行时,设置权限,及安装对应依赖,无需安装 SDK,直接使用 ./NetCoreBBS 运行。
设置权限:chmod -R 755 NetCoreBBS

1. 安装.NET Core SDK
https://www.microsoft.com/net/core#ubuntu
Ubuntu 14.04
| sudo sh -c 'echo"deb [arch=amd64] https://apt-mo.trafficmanager.net/repos/dotnet/ trusty main"> /etc/apt/sources.list.d/dotnetdev.list' | |
| sudo apt-key adv --keyserver apt-mo.trafficmanager.net --recv-keys 417A0893 | |
| sudo apt-get update |
sudo apt-get install dotnet-dev-1.0.0-preview2-003121
安装好以后,就可以使用 dotnet 命令。
2. 安装及配置 Nginx
sudo apt-get install nginx
安装好以后,定位到 /etc/nginx/sites-available/default 文件。更改 server 节点如下。
| server {listen 80; | |
| location / {proxy_pass http://localhost:5000; | |
| proxy_http_version 1.1; | |
| proxy_set_header Upgrade $http_upgrade; | |
| proxy_set_header Connection keep-alive; | |
| proxy_set_header Host $host; | |
| proxy_cache_bypass $http_upgrade; | |
| } | |
| } |
然后重新启动 Nginx
sudo service nginx restart
3. 安装及配置 supervisor
sudo apt-get install supervisor
安装好 supervisor 以后,下面就来配置。
定位到 /etc/supervisor/conf.d/ 文件夹,添加一个 NetCoreBBS.conf 文件。
下面是 dotnet NetCoreBBS.dll 命令方式。经过多次的坑,终于得到最终配置文件。这里因为用到 Sqlite 数据库,需要指定目录。
| [program:NetCoreBBS] | |
| command=/usr/bin/dotnet /root/publish/NetCoreBBS.dll | |
| directory=/root/publish | |
| autostart=true | |
| autorestart=true | |
| stderr_logfile=/var/log/NetCoreBBS.err.log | |
| stdout_logfile=/var/log/NetCoreBBS.out.log | |
| environment=ASPNETCORE__ENVIRONMENT=Production | |
| user=root | |
| stopsignal=INT |
重启 supervisor,这里由于我放置在 root 文件夹,所以需要 root 用户,大家也可以放置在其他文件夹。
sudo service supervisor restart
下面是自带运行时方式,自带运行时可以省略掉第一步,无需安装 SDK 安装几个依赖就行。可以参考之前文章:http://www.linuxidc.com/Linux/2016-07/133203.htm
| [program:NetCoreBBS] | |
| command=/root/publishself/NetCoreBBS | |
| directory=/root/publishself | |
| autostart=true | |
| autorestart=true | |
| stderr_logfile=/var/log/NetCoreBBS.err.log | |
| stdout_logfile=/var/log/NetCoreBBS.out.log | |
| environment=ASPNETCORE__ENVIRONMENT=Production | |
| user=root | |
| stopsignal=INT |
然后我们访问设置的 ip 或者域名就能访问 ASP.NET Core 站点了。
大家如果要配置多个站点,可以在 Nginx 里进行配置。
参考文档:https://docs.asp.net/en/latest/publishing/linuxproduction.html
本文永久更新链接地址 :http://www.linuxidc.com/Linux/2016-07/133204.htm


