共计 3238 个字符,预计需要花费 9 分钟才能阅读完成。
本文主要描述如何在如何在 Linux(Ubuntu)上安装 Redmine。通过这篇文章你将了解如下内容。
TL;DR
- 在 Linux(Ubuntu)上安装 Redmine 的基本流程
- 配置 phpMyAdmin 的远程登录权限
- 配置 Redmine 默认访问端口
- Linux 常用操作命令
在 Linux(Ubuntu)上安装 Redmine 的流程
-
首先下载最新版的 Redmine 安装包。
-
通过 scp 命令拷贝本地文件到远程服务器
| scp /Users/CharlieChu/Desktop/bitnami-redmine-3.3.2-2-linux-x64-installer.run root@<remote-ip>:/home | |
| bitnami-redmine-3.3.2-2-linux-x64-installer.run 100% 151MB 1.2MB/s 02:07 |
scp 命令
- 通过 ssh 连接到远程 Linux 服务器
| ssh root@<remote-ip> | |
| Welcome to Ubuntu 16.04.2 LTS (GNU/Linux 4.4.0-63-generic x86_64) | |
| * Documentation: https://help.ubuntu.com | |
| * Management: https://landscape.canonical.com | |
| * Support: https://ubuntu.com/advantage |
ssh 命令
- 通过 cd 命令进入到.run 文件所在的目录
| cd /home | |
| /home# ls | |
| bitnami-redmine-3.3.2-2-linux-x64-installer.run |
- 输入”chmod +x *.run”
chmod +x *.run
chmod 命令
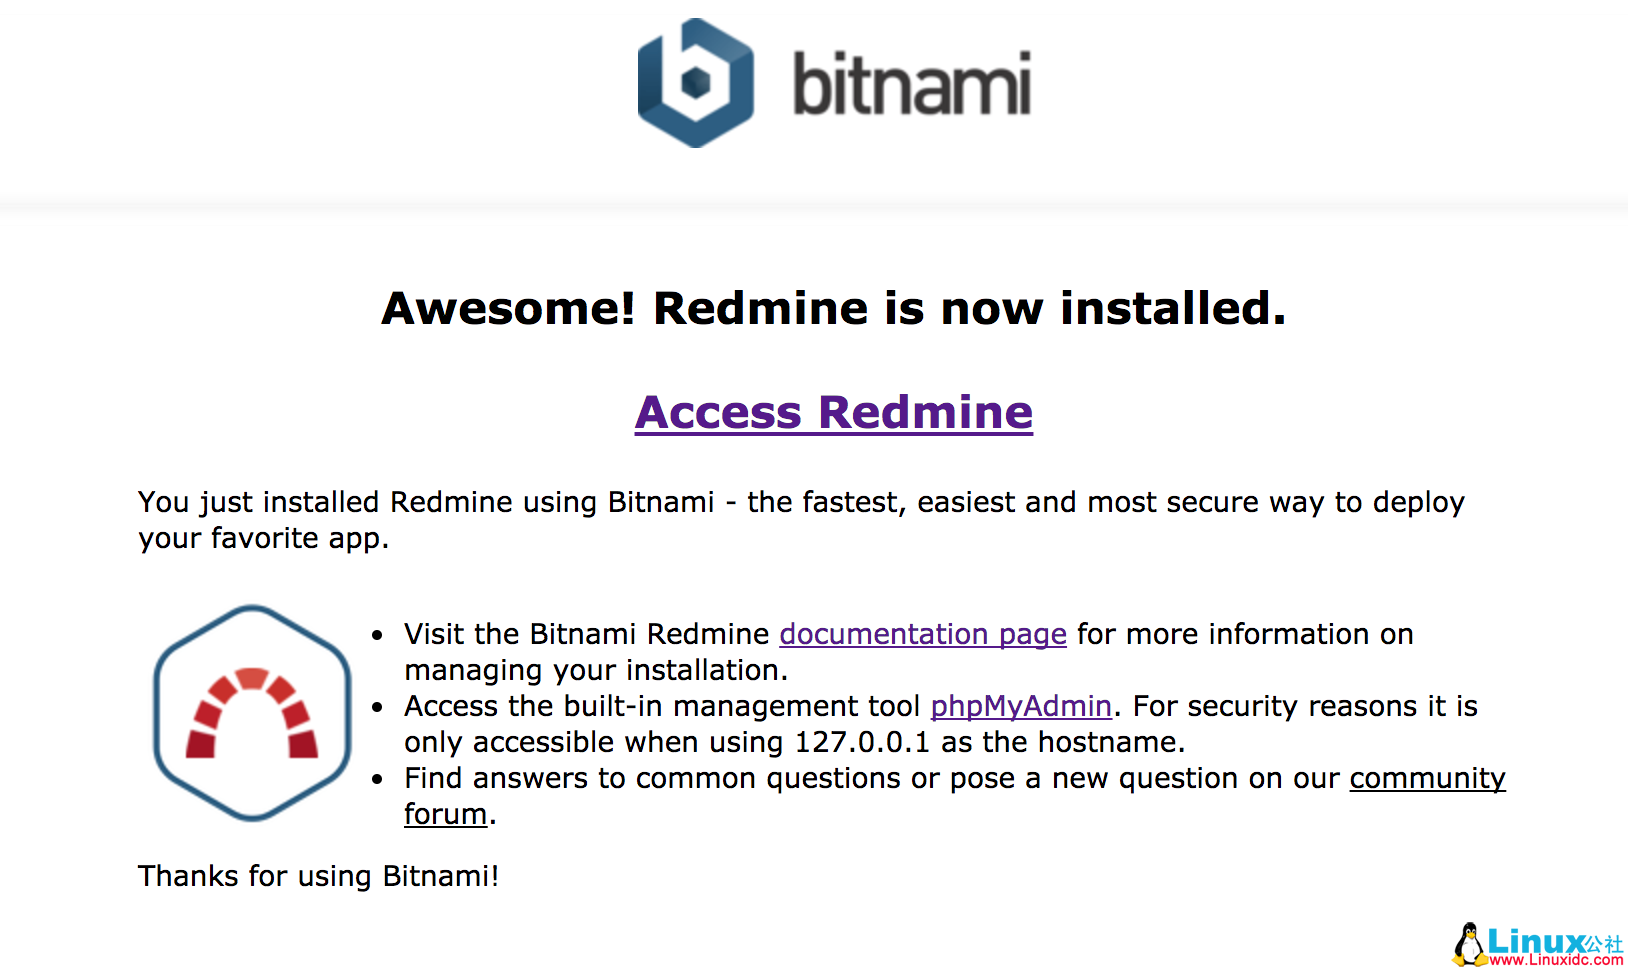
- 输入”./*.run”,.run 文件就开始运行了,出现如下界面
root@xxxxxx:/home# ./*.run
这样 Redmine 就安装成功了。

- 删除安装包
通过 rm 命令删除 Redmine 安装包
rm -rf bitnami-redmine-3.3.2-2-linux-x64-installer.run
rm 命令 rm -rf file (-r 就是向下递归,不管有多少级目录一并删除. -f 就是直接强行删除)
配置 Redmine 默认访问端口
Redmine 作为内部使用的项目管理系统,默认占用 80 端口太过于浪费了,这里把 Redmine 访问端口改成 8082。需要修改如下 5 处配置。
- 打开 httpd-app.conf 修改
PassengerPreStart http://127.0.0.1:80/redmine该行,然后保存退出。
| cd /opt/redmine-3.3.2-2/apps/redmine/conf | |
| vim httpd-app.conf |
vim 命令:打开、保存退出等命令。
可以通过 cat 命令查看该文件是否修改成功。
cat httpd-app.conf
cat 命令
- 打开 httpd-vhosts.conf 修改
<VirtualHost *:80>该行。
vim httpd-vhosts.conf
- 打开
/opt/redmine-3.3.2-2/apache2/scripts/ctl.sh,修改这一段httpd started at port 80。
| cd ~ | |
| vim /opt/redmine-3.3.2-2/apache2/scripts/ctl.sh |
- 打开
/opt/redmine-3.3.2-2/apache2/conf/bitnami/bitnami.conf,修改这一段<VirtualHost _default_:80>。
| cd /opt/redmine-3.3.2-2/apache2/conf/bitnami/ | |
| vim bitnami.conf |
- 打开
/opt/redmine-3.3.2-2/apache2/conf/httpd.conf,修改第 52 和 212 行 -Listen 8082和ServerName localhost:80的端口信息。
| vim /opt/redmine-3.3.2-2/apache2/conf/httpd.conf | |
| :set number |
:set number 跳转到指定行
- 重启 Redmine 即可。
| /opt/redmine-3.3.1-0/ctlscript.sh restart | |
| Syntax OK | |
| /opt/redmine-3.3.2-2/apache2/scripts/ctl.sh : httpd stopped | |
| /opt/redmine-3.3.2-2/mysql/scripts/ctl.sh : mysql stopped | |
| 170324 11:33:36 mysqld_safe Logging to '/opt/redmine-3.3.2-2/mysql/data/mysqld.log'. | |
| 170324 11:33:36 mysqld_safe Starting mysqld.bin daemon with databases from /opt/redmine-3.3.2-2/mysql/data | |
| /opt/redmine-3.3.2-2/mysql/scripts/ctl.sh : mysql started at port 3306 | |
| Syntax OK | |
| /opt/redmine-3.3.2-2/apache2/scripts/ctl.sh : httpd started at port 8082 |
配置 phpMyAdmin 的远程登录权限
利用利用如下命令打开httpd-app.conf:
vim /opt/redmine-3.3.2-2/apps/phpmyadmin/conf/httpd-app.conf
查找到如下内容:
| <IfVersion >= 2.3> | |
| Require local |
将其修改为:
| <IfVersion >= 2.3> | |
| Require all granted |
找回用户名和密码信息
远程登录 phpMyAdmin 时,如果忘记了用户名和密码,则可以登录到服务器去查看密码了:
vim /opt/redmine-3.3.2-2/apps/redmine/htdocs/config/database.yml
这样你就可以看到对应的用户名和密码等信息了。
CentOS 下安装 Redmine 并集成 Git http://www.linuxidc.com/Linux/2015-01/111848.htm
最简化的 Ubuntu 10.04 下 Redmine 部署方法 http://www.linuxidc.com/Linux/2010-07/27076.htm
Ubuntu 10.04 默认安装 Redmine 注意事项 http://www.linuxidc.com/Linux/2010-07/27075.htm
CentOS 5 下 Redmine 的安装及配置 http://www.linuxidc.com/Linux/2009-12/23311.htm
Ubuntu 9.10 下搭建基于 PostgreSQL 的 Redmine http://www.linuxidc.com/Linux/2009-11/22697.htm
Ubuntu 中安装开源项目管理软件 Redmine http://www.linuxidc.com/Linux/2008-03/11819.htm
如何将 Turnkey Redmine 虚拟机从 Redmine 1.0.5 升级到 1.2 http://www.linuxidc.com/Linux/2011-09/42882.htm
CentOS5 下进行 Redmine 环境搭建, 邮件服务配置,LDAP 配置 http://www.linuxidc.com/Linux/2013-04/83619.htm
Linux 下使用 Bitnami 安装 Redmine http://www.linuxidc.com/Linux/2017-06/144475.htm
Redmine 的详细介绍:请点这里
Redmine 的下载地址:请点这里
本文永久更新链接地址:http://www.linuxidc.com/Linux/2017-10/147318.htm


