共计 3534 个字符,预计需要花费 9 分钟才能阅读完成。
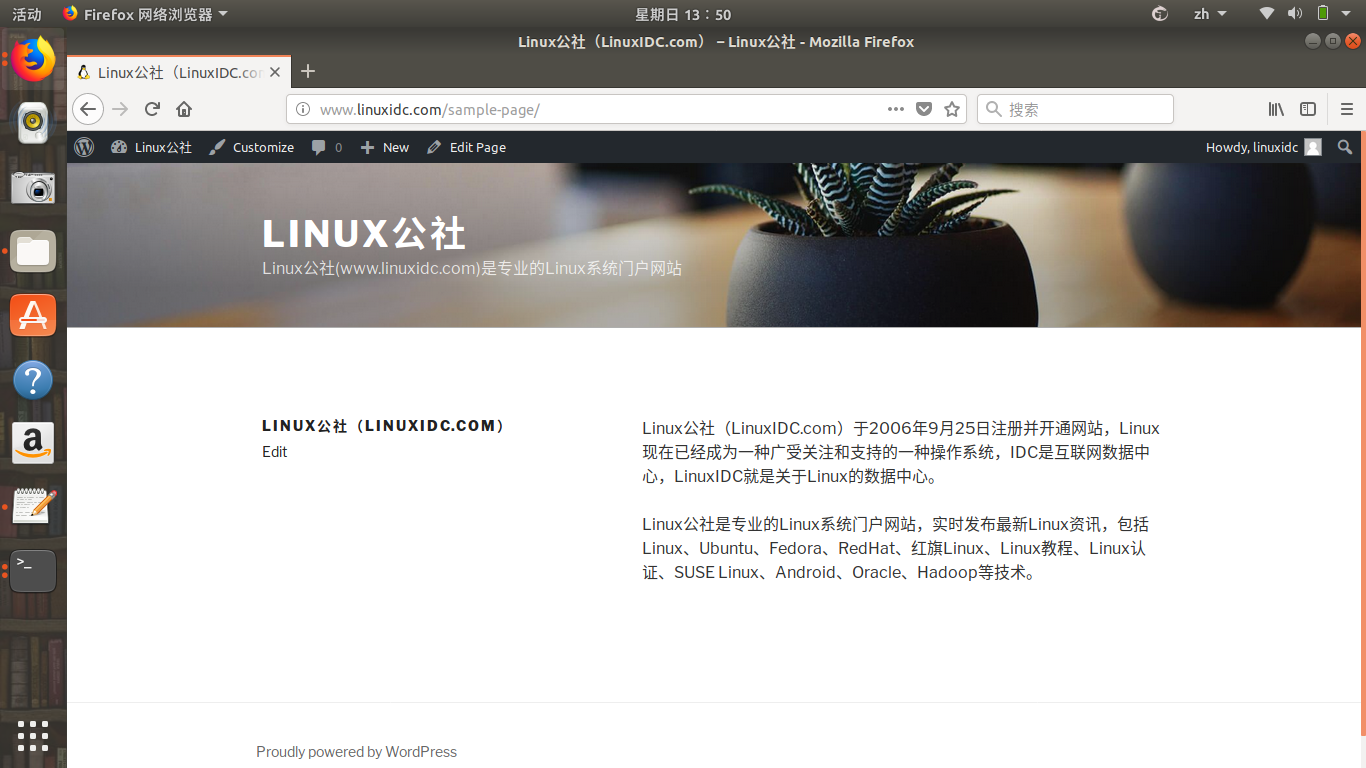
本教程将向您展示如何在 Ubuntu 17.10 上使用 Nginx,MariaDB 和 PHP7.1(LEMP 环境)安装 WordPress。WordPress 是世界上最受欢迎的 CMS(内容管理系统)。据估计,目前超过四分之一的网站是由 WordPress 提供支持的。
PHP7.1 被制作成了 Ubuntu 17.10 版本库,WordPress 可以完美地运行它。本教程假设您已经在 Ubuntu 17.10 上设置了 LEMP 环境。如果没有,请查看以下教程。

- Ubuntu 17.10 上安装 LEMP 环境(Nginx,MariaDB,PHP7.1)http://www.
linuxidc.com/Linux/2017-12/149581.htm
在完成 LEMP 安装后,回到这里阅读。
第 1 步:下载 WordPress
SSH 到你的 Ubuntu 17.10 服务器并更新现有的软件。
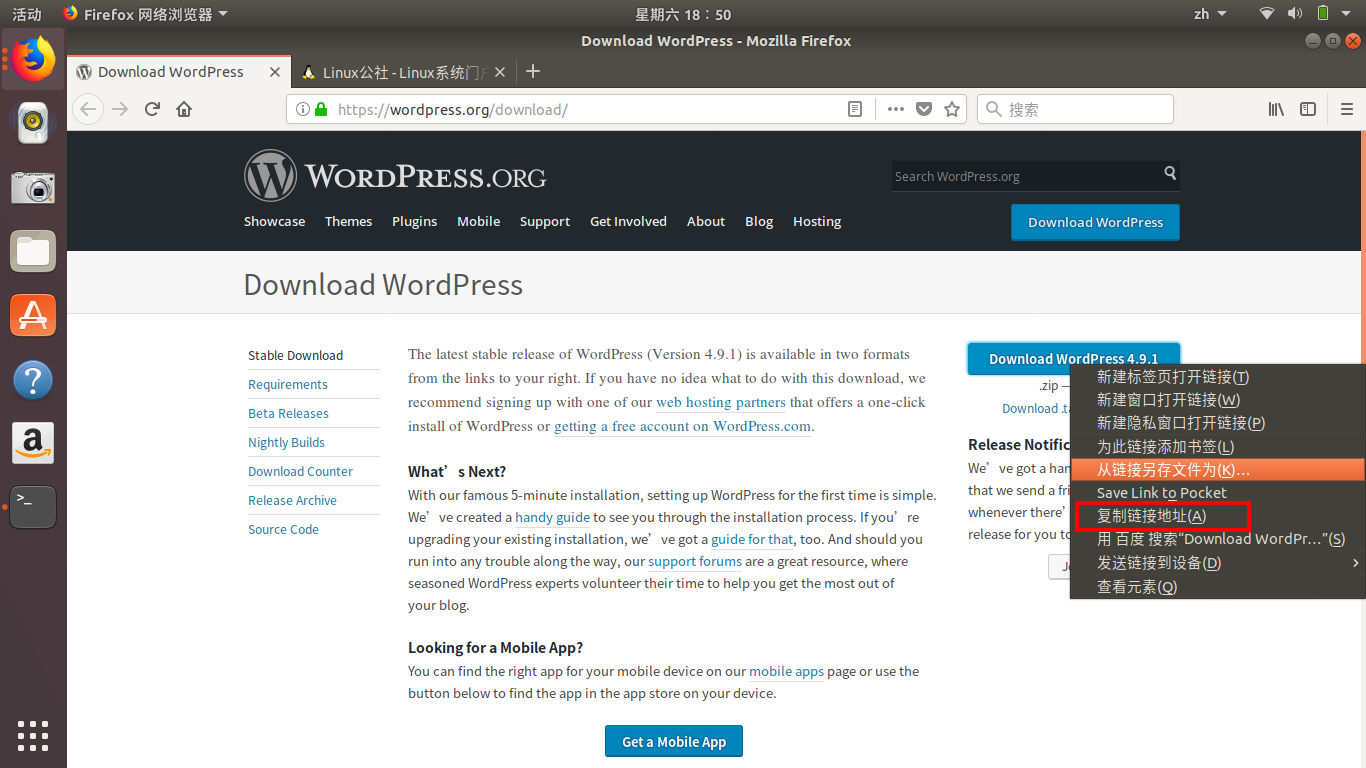
sudo apt update && sudo apt upgrade接下来,进入 wordpress.org 下载页面并下载 zip 压缩文件。您可以通过右键单击下载按钮并选择复制链接位置来获取直接下载链接。

然后在命令行提示符处输入 wget,然后直接下载链接,将 WordPress 下载到 Ubuntu 17.10 服务器。
wget https://wordpress.org/latest.zip接下来,使用下面的命令解压 zip 文件。
sudo apt install unzip

sudo unzip latest.zip
一个名为 wordpress 的新目录将被创建在当前工作目录中。现在我们把这个目录及其所有的内容移到 Nginx web 根目录。用你真实的域名替换 linuxidc.com。
sudo mv wordpress/ /usr/share/nginx/linuxidc.com

第 2 步:为 WordPress 网站创建一个数据库和用户
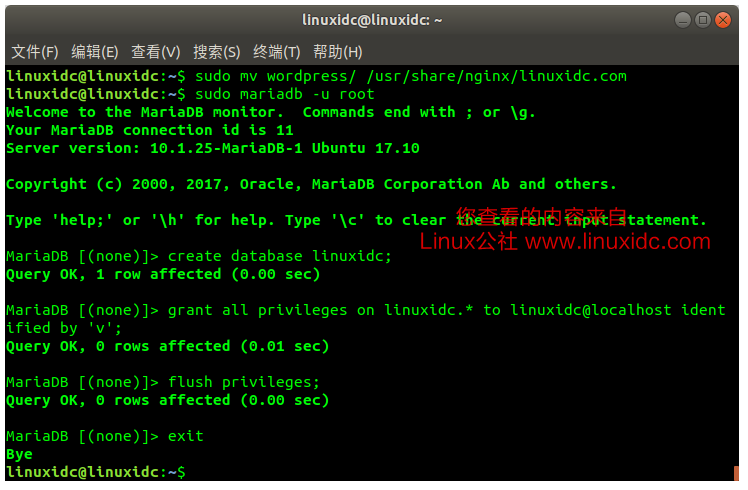
使用以下命令以 root 身份登录到 MariaDB shell。(见上图)
sudo mariadb -u root登录后,使用以下命令为 WordPress 创建一个数据库。我把它命名为 linuxidc,但是你可以使用任何你喜欢的名字,比如你的站点名称。(不要忽略分号。)
create database linuxidc;然后输入下面的命令为 WordPress 创建一个数据库用户。这个命令也授予 linuxidc 数据库的所有权限给用户。用你喜欢的用户名和密码替换 linuxidc 和你的密码。(见上图)
grant all privileges on linuxidc.* to linuxidc@localhost identified by ' 你的密码 ';刷新权限表以使更改生效,然后离开 MariaDB shell.
flush privileges;
exit;
(见上图)
第 3 步:配置 WordPress
转到您的 WordPress 目录。
cd /usr/share/nginx/linuxidc.com/

复制示例配置文件并将其重命名为 wp-config.php。
sudo cp wp-config-sample.php wp-config.php现在编辑新的配置文件。
sudo nano wp-config.php找到以下行并用上一步中创建的数据库名称,用户名和密码替换红色文本。
/** The name of the database for WordPress */
define('DB_NAME', 'database_name_here');

/** MySQL database username */
define('DB_USER', 'username_here');

/** MySQL database password */
define('DB_PASSWORD', 'password_here');
如下图:

修改后如下:

保存并关闭文件。我们还需要使用以下命令将 Nginx 用户(www-data)设置为 WordPress 站点目录的所有者。
sudo chown www-data:www-data /usr/share/nginx/linuxidc.com/ -R

第 4 步:为 WordPress 创建一个 Nginx 服务器文件
我们将在 /etc/nginx/conf.d/ 目录下创建服务器文件。文件名必须以.conf 结尾。
sudo nano /etc/nginx/conf.d/linuxidc.com.conf
将以下文本放入文件中。用您自己的域名替换红色文本。不要忘记为您的域名创建 A 记录。
server {
  listen 80;
  server_name www.linuxidc.com linuxidc.com;
  root /usr/share/nginx/linuxidc.com/;
  index index.php index.html index.htm index.nginx-debian.html;

  location / {try_files $uri $uri/ /index.php;}

  error_page 404 /404.html;
  error_page 500 502 503 504 /50x.html;

  location = /50x.html {root /usr/share/nginx/html;}

  location ~ \.php$ {fastcgi_pass unix:/run/php/php7.1-fpm.sock;
    fastcgi_param SCRIPT_FILENAME $document_root$fastcgi_script_name;
    include fastcgi_params;
    include snippets/fastcgi-php.conf;
  }

  location ~ /\.ht {deny all;}
}
请注意,如果您遵循我的 LEMP 教程并安装了 PHP7.2,则可以将 php7.1-fpm.sock 更改为 php7.2-fpm.sock,以使 Nginx 使用 PHP7.2。
保存并关闭文件。然后测试 Nginx 配置。
sudo nginx -t如果测试成功,请重新加载 Nginx。
sudo systemctl reload nginx

最后一步:运行 WordPress 安装向导
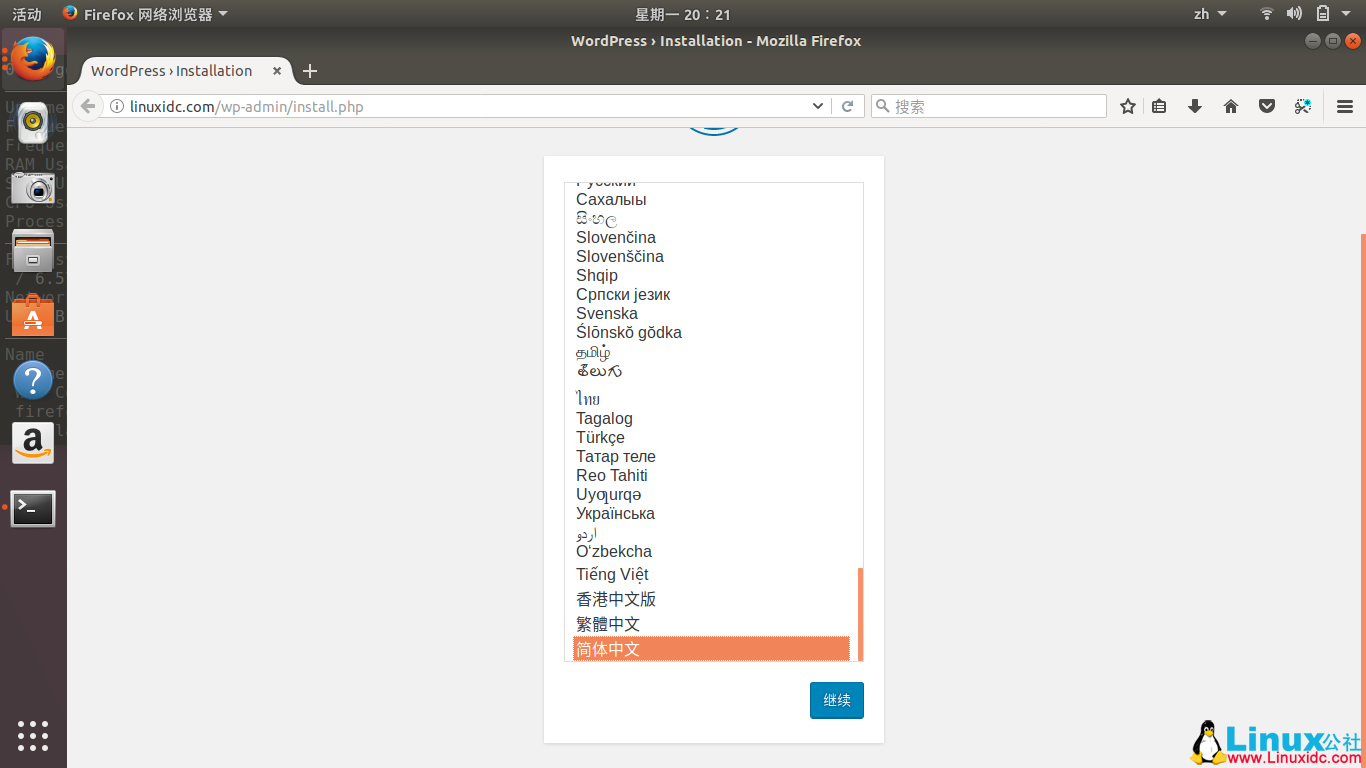
在浏览器地址栏中输入您的域名。你会看到 WordPress 的安装向导。选择一种语言。
linuxidc.com或者
linuxidc.com/wp-admin/install.php
如果未显示安装向导,则可能需要安装一些 PHP7 扩展。
sudo apt install php7.1-mbstring php7.1-xml php7.1-mysql php7.1-common php7.1-gd php7.1-json php7.1-cli php7.1-curl然后重新加载 PHP-FPM 和 Nginx。现在应该显示向导。
sudo systemctl reload php7.1-fpm

sudo systemctl reload Nginx
创建一个管理员帐户,然后点击安装 WordPress 按钮。

而现在你的新的 WordPress 网站已经安装。

如何将 www 重定向到非 www
我们创建的 Nginx 配置允许网站访问者通过 www 和非 www 域访问网站。您可以通过转到 WordPress 仪表板 > 设置 > 常规将一个版本重定向到另一个版本。然后将 WordPress 地址和网站地址设置为您的首选版本。


我希望这个教程帮助你在 Ubuntu 17.10 上安装 Nginx,MariaDB 和 PHP7.1(LEMP 环境)的 WordPress。与往常一样,如果你发现这篇文章有用,请分享给更多的朋友。
完整 PDF 文档可以到 Linux 公社资源站下载:
—————————————— 分割线 ——————————————
免费下载地址在 http://linux.linuxidc.com/
用户名与密码都是 www.linuxidc.com
具体下载目录在 /2017 年资料 /12 月 /18 日 /Ubuntu 17.10 上安装 LEMP 环境(Nginx,MariaDB,PHP7.1)/
下载方法见 http://www.linuxidc.com/Linux/2013-07/87684.htm
—————————————— 分割线 ——————————————
更多 Ubuntu 相关信息见 Ubuntu 专题页面 http://www.linuxidc.com/topicnews.aspx?tid=2
本文永久更新链接地址 :http://www.linuxidc.com/Linux/2017-12/149582.htm


