共计 2558 个字符,预计需要花费 7 分钟才能阅读完成。
实验环境
- 一台最小化安装的 CentOS 7.3 虚拟机
配置基础环境
1. 安装 apache
yum install -y httpd2. 建立虚拟主机的根目录
mkdir /var/wwwroot
mkdir /var/wwwroot/site1
mkdir /var/wwwroot/site2
echo -e "site1" >> /var/wwwroot/site1/index.html
echo -e "site2" >> /var/wwwroot/site2/index.html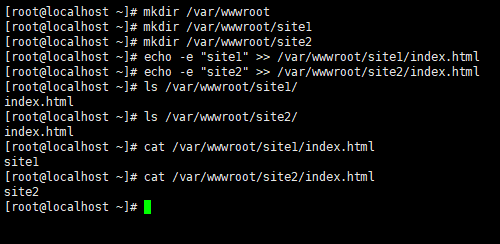
3. 关闭 CentOS 的防火墙
setenforce 0
systemctl stop firewalld
systemctl disable firewalld
配置基于端口的虚拟主机
1. 编辑 apache 配置文件
vim /etc/httpd/conf.d/vhost.conf2. 添加以下内容
Listen 8081
<VirtualHost *:8081>
    DocumentRoot "/var/wwwroot/site1"
    ErrorLog "logs/site1.error.log"
    CustomLog "logs/site1.access.log" common
    <Directory "/var/wwwroot/site1">
        Options Indexes FollowSymLinks MultiViews
        AllowOverride None
        Require all granted
    </Directory>
</VirtualHost>

Listen 8082
<VirtualHost *:8082>
    DocumentRoot "/var/wwwroot/site2"
    ErrorLog "logs/site2.error.log"
    CustomLog "logs/site2.access.log" common
    <Directory "/var/wwwroot/site2">
        Options Indexes FollowSymLinks MultiViews
        AllowOverride None
        Require all granted
    </Directory>
</VirtualHost>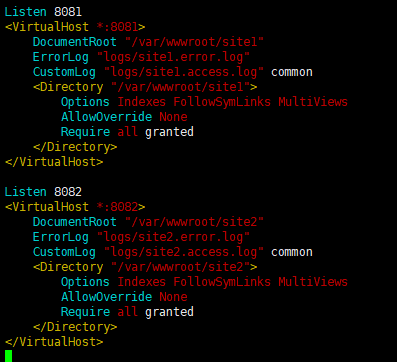
3. 启动 apache 服务
systemctl start httpd4. 在宿主机访问两个站点
http://192.168.204.133:8081http://192.168.204.133:8082


配置基于域名的虚拟主机
1. 编辑 apache 配置文件
vim /etc/httpd/conf.d/vhost.conf2. 修改为以下内容
<VirtualHost *:80>
    DocumentRoot "/var/wwwroot/site1"
    ServerName site1.test.com
    ErrorLog "logs/site1.error.log"
    CustomLog "logs/site1.access.log" common
    <Directory "/var/wwwroot/site1">
        Options Indexes FollowSymLinks MultiViews
        AllowOverride None
        Require all granted
    </Directory>
</VirtualHost>

<VirtualHost *:80>
    DocumentRoot "/var/wwwroot/site2"
    ServerName site2.test.com
    ErrorLog "logs/site2.error.log"
    CustomLog "logs/site2.access.log" common
    <Directory "/var/wwwroot/site2">
        Options Indexes FollowSymLinks MultiViews
        AllowOverride None
        Require all granted
    </Directory>
</VirtualHost>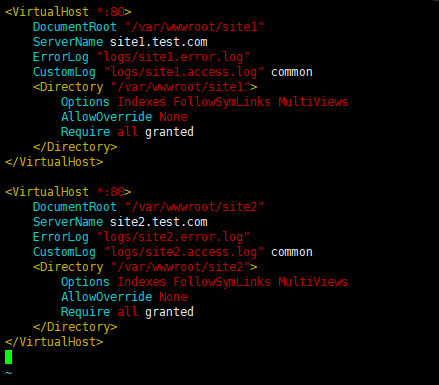
3. 重启 apache 服务
systemctl restart httpd4. 在 Windows 上修改 hosts 文件
编辑 C:\Windows\System32\drivers\etc\hosts 文件,
添加以下内容(根据实际情况自己修改)
192.168.204.135   site1.test.com
192.168.204.135   site2.test.com
5. 在宿主机访问两个站点
http://site1.test.com/http://site2.test.com/

配置基于 IP 的虚拟主机
1. 在虚拟机上增加两个 IP 地址
ifconfig ens33:1 192.168.204.135
ifconfig ens33:2 192.168.204.136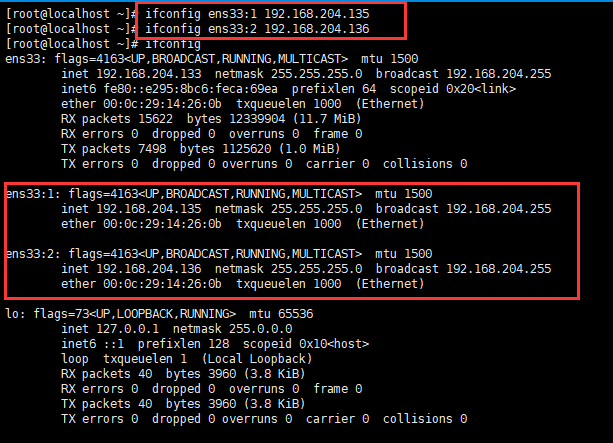
2. 重新编辑 apache 配置文件
vim /etc/httpd/conf.d/vhost.conf3. 修改配置文件为以下内容
<VirtualHost 192.168.204.135:80>
    DocumentRoot "/var/wwwroot/site1"
    ErrorLog "logs/site1.error.log"
    CustomLog "logs/site1.access.log" common
    <Directory "/var/wwwroot/site1">
        Options Indexes FollowSymLinks MultiViews
        AllowOverride None
        Require all granted
    </Directory>
</VirtualHost>

<VirtualHost 192.168.204.136:80>
    DocumentRoot "/var/wwwroot/site2"
    ErrorLog "logs/site2.error.log"
    CustomLog "logs/site2.access.log" common
    <Directory "/var/wwwroot/site2">
        Options Indexes FollowSymLinks MultiViews
        AllowOverride None
        Require all granted
    </Directory>
</VirtualHost>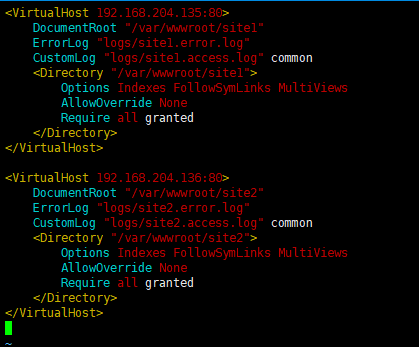
4. 重启 apache 服务
systemctl restart httpd5. 在宿主机访问两个站点
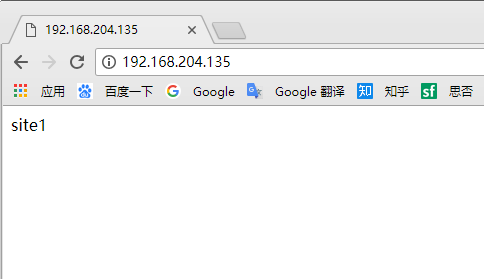
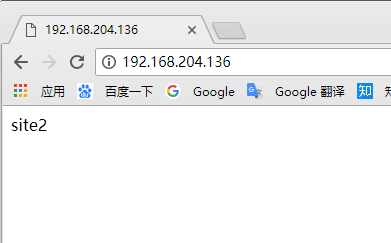
http://192.168.204.135/http://192.168.204.136/
正文完
星哥玩云-微信公众号


